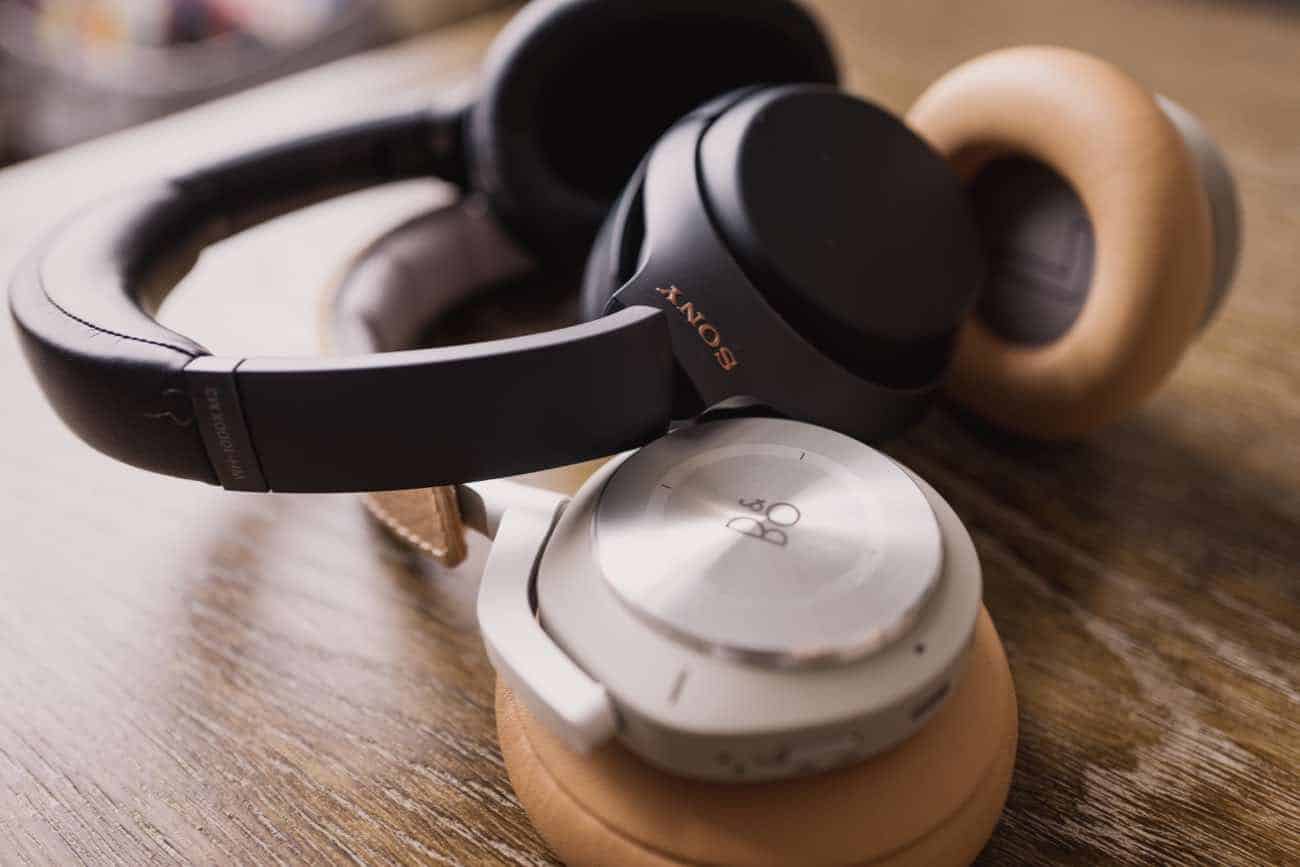
A few months ago I bought two pairs of noise-cancelling headphones:
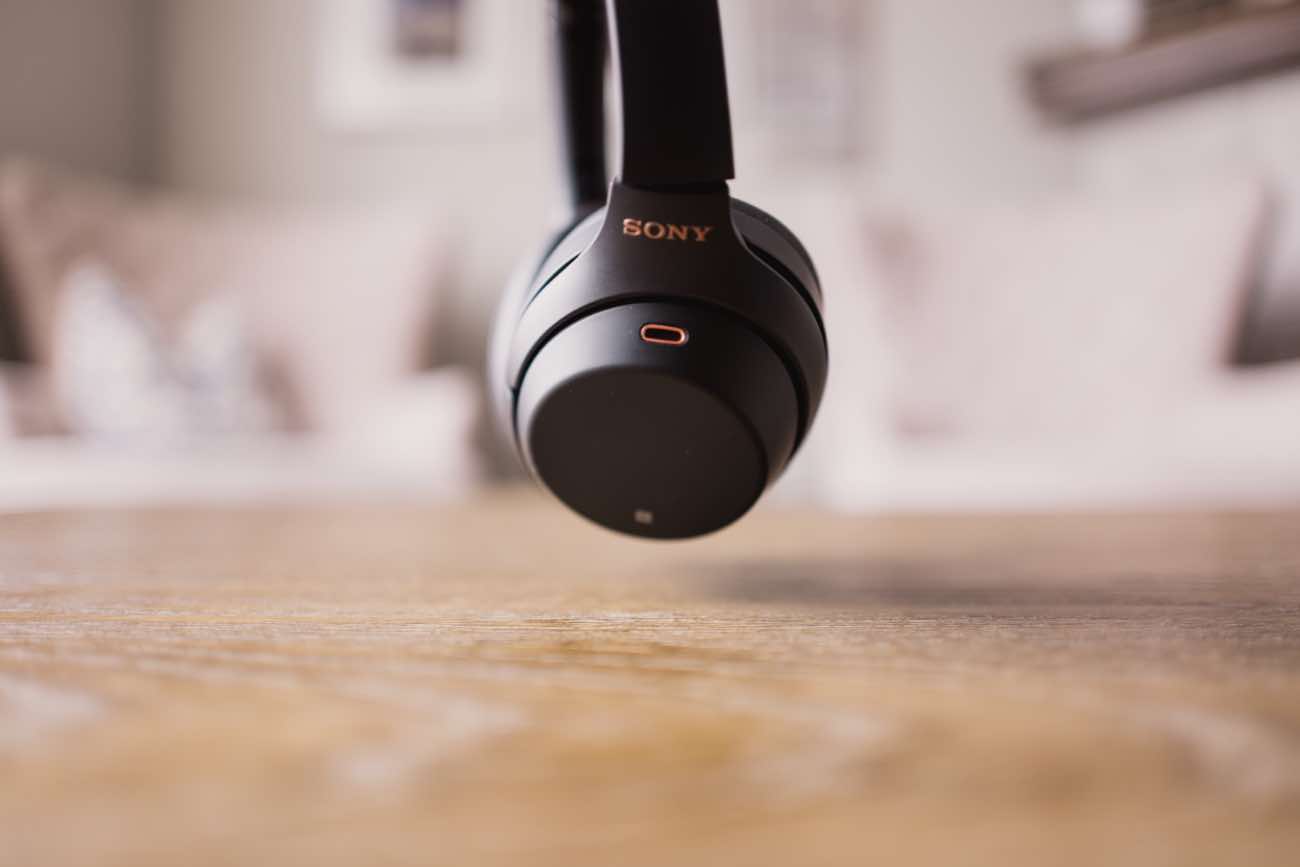
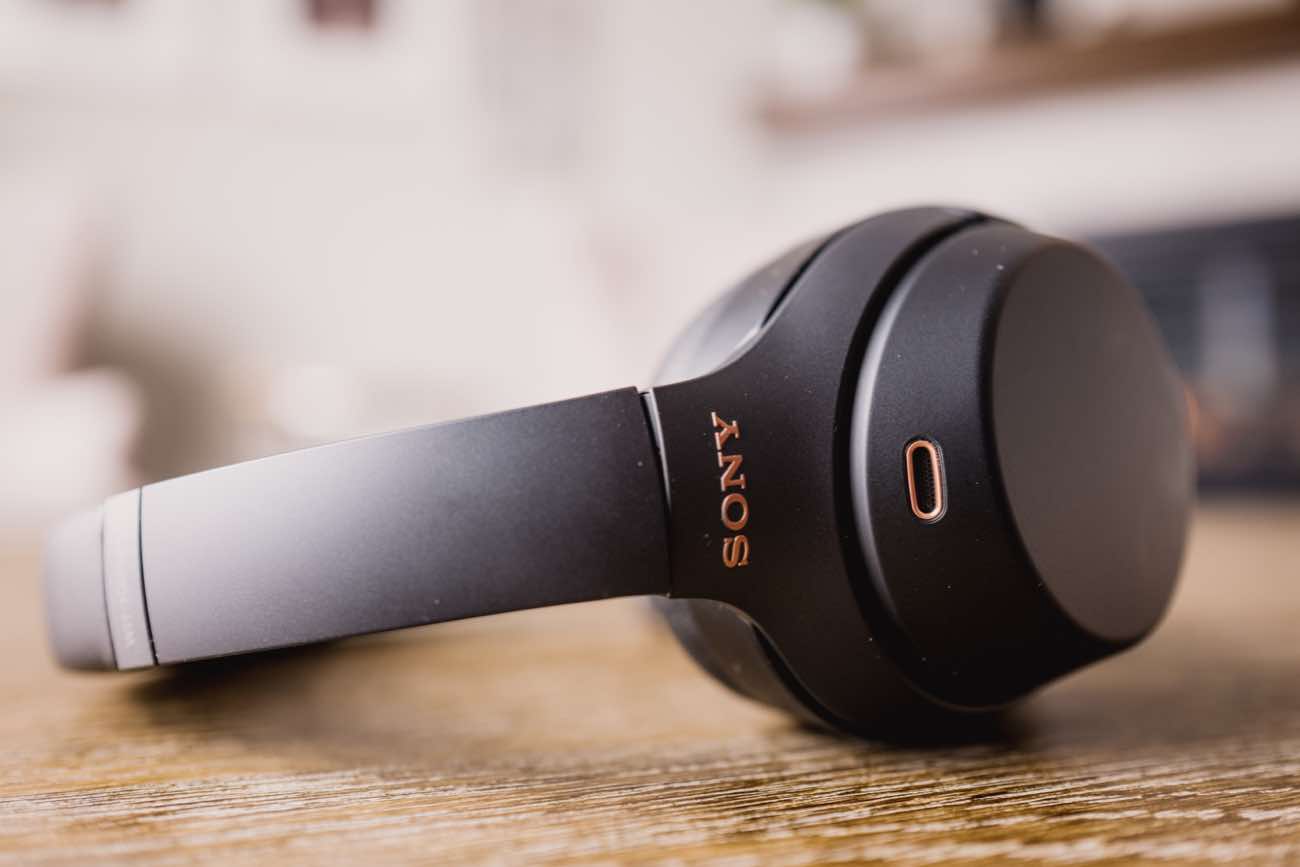
- Sony XM3
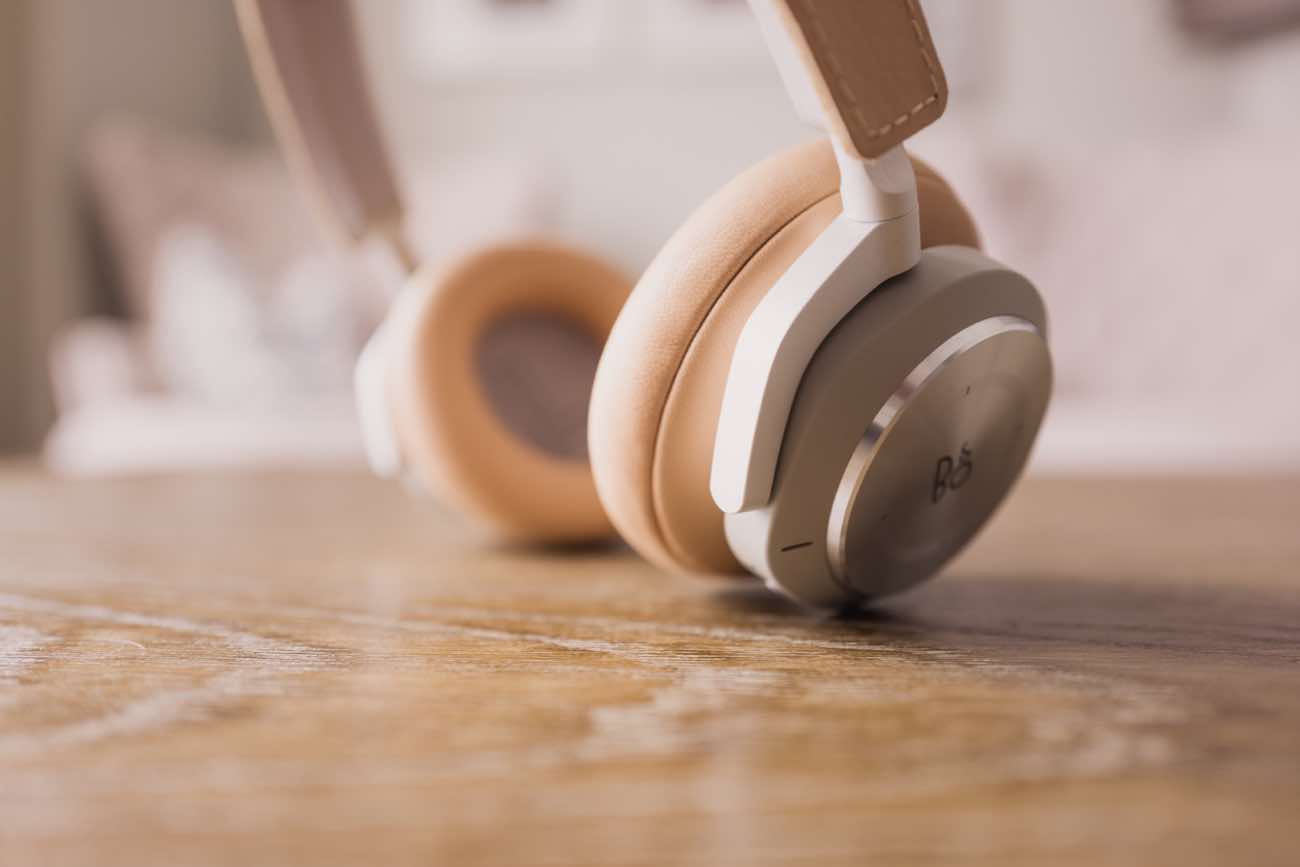
- B&O H9i
First of all, noise-cancelling headphones are amazing! Where have these things been all my life?
Secondly, it’s safe to say that both of these headphones are fantastic.
These are arguably the two best pairs of noise cancelling headphones on the planet right now.
When I set out to get a pair of headphones, all I wanted was:
- Incredible sound.
- Something that would be comfortable to wear for several hours in a row.
- Something that could cancel out annoying background noise of people talking and kids running around in the next room.
I read tons of reviews. Watched all sorts of comparison videos. Asked around to different friends who already had headphones of their own. Even spoke directly with my friend Marius who wrote our own comparison review of these same headphones for an article on The Sweet Setup.
Now, what I should have done was simply pick one of the above two pairs of headphones and move on with my life.
But no. for whatever reason, I couldn’t just take other people’s words for it. I couldn’t just pick one and trust that it’d be great. I had to compare them for myself… Whatchagonnado?
I spent 29 days comparing them both and using them both. And to be honest, these two headphones are pretty much neck and neck.
There are subtle differences between the two. But the differences are so small that no normal person should bother themselves taking the time to obsessing over the small details between these two sets of headphones.
But, let’s be honest. We’re not here because we’re normal.
No, we’re here because we’re nerds who have been known to obsess over the details that nobody else may notice.
So, okay then. Let’s dive in.
Sound
I like a clear sound profile with full bass. And this is pretty much what the B&O headphones sound like out of the box, though I like the bass turned up a bit more.
After listening back and forth between a bunch of my favorite albums with both the B&Os and the Sonys, I think the sound quality is just about equal between the two. And by that, what I mean is that both of these headphones sound amazing and you will be able to EQ either of them to sound exactly how you prefer.
Both headphones come with an iOS app that allows you to adjust the EQ and sound profile. The Sony app has much more control and lets you really fine-tune the EQ to get exactly the sound profile you want.
The B&O app leaves much to be desired in terms of setting your EQ. They call it “ToneTouch” and basically all you can do is move an orb around inside a bigger orb to find a balance between “Warm”, “Excited”, “Relaxed”, and “Bright”. Which I’m honestly not even sure what those mean.
However, between the iOS Music EQ presets and the B&O Sound Profile settings, I’m able to get a pretty great EQ mix for the H9i.
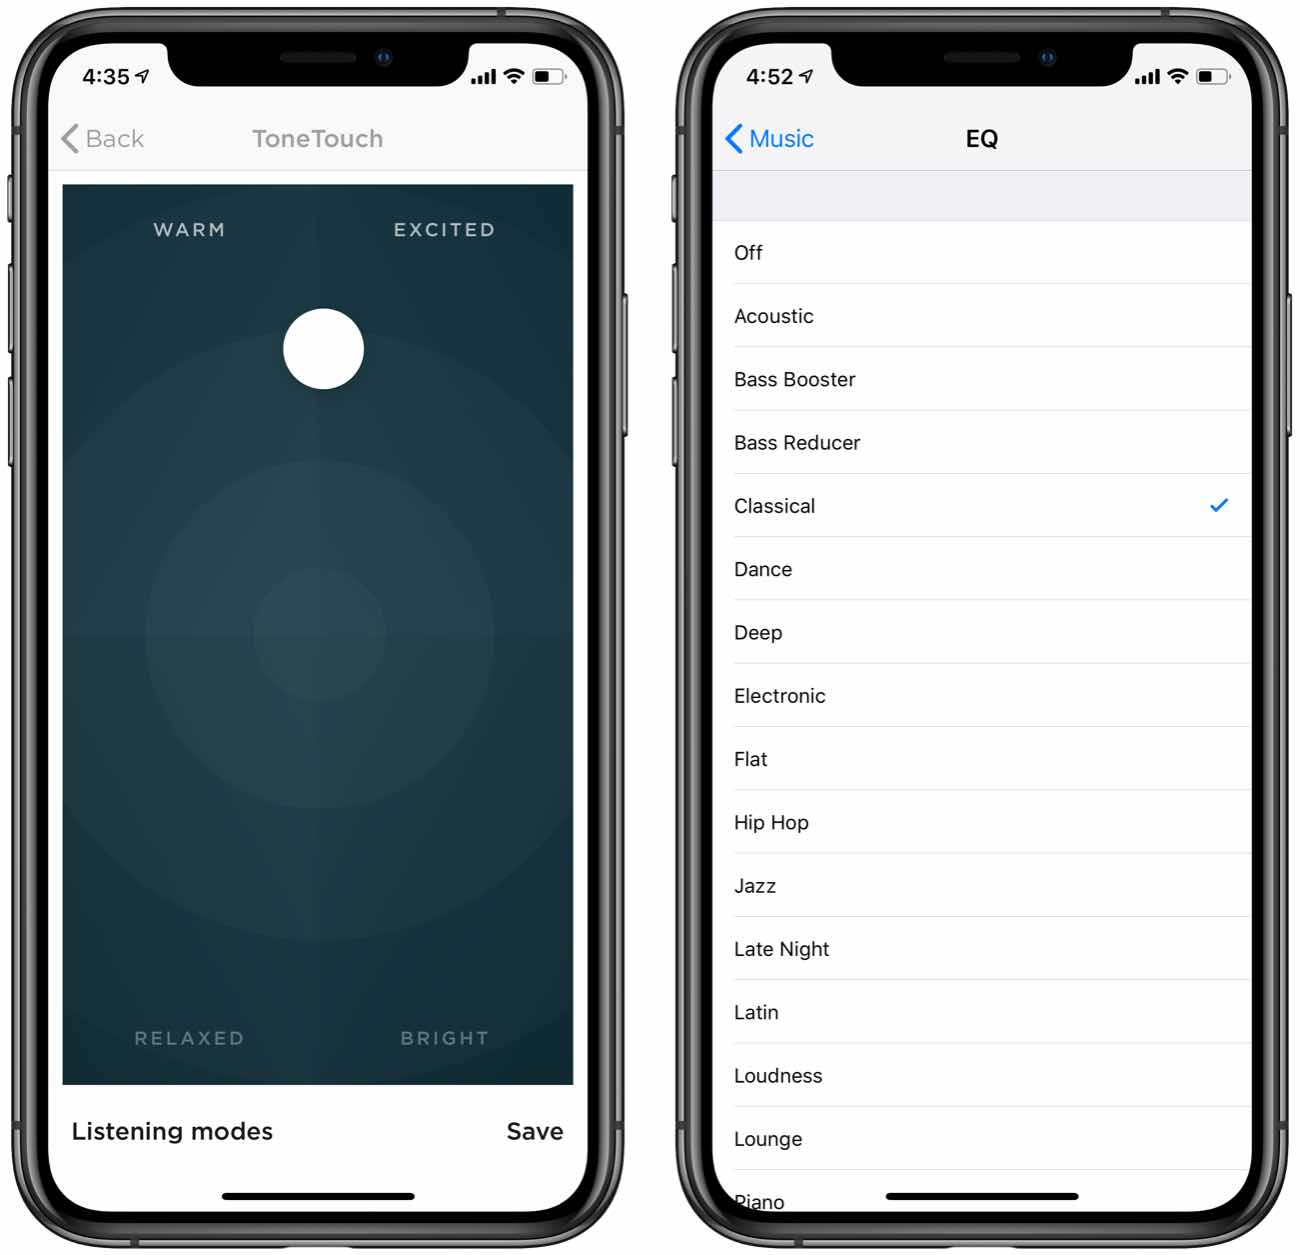
Above screenshots: I have my iOS Music App EQ set to “Classical” and the B&O app’s ToneTouch set to the “Bass” preset, which puts the orb between pretty warm and excited. (Don’t look at me; I didn’t choose those labels.)
To adjust your EQ presets in the iOS Music app, go to the Settings app → Music → EQ.
I was curious what the actual Classical preset was doing. So, I went to Apple Music app on my Mac, where you can select a preset but then also adjust the individual levels. This is what the Classical preset levels look like on Mac:
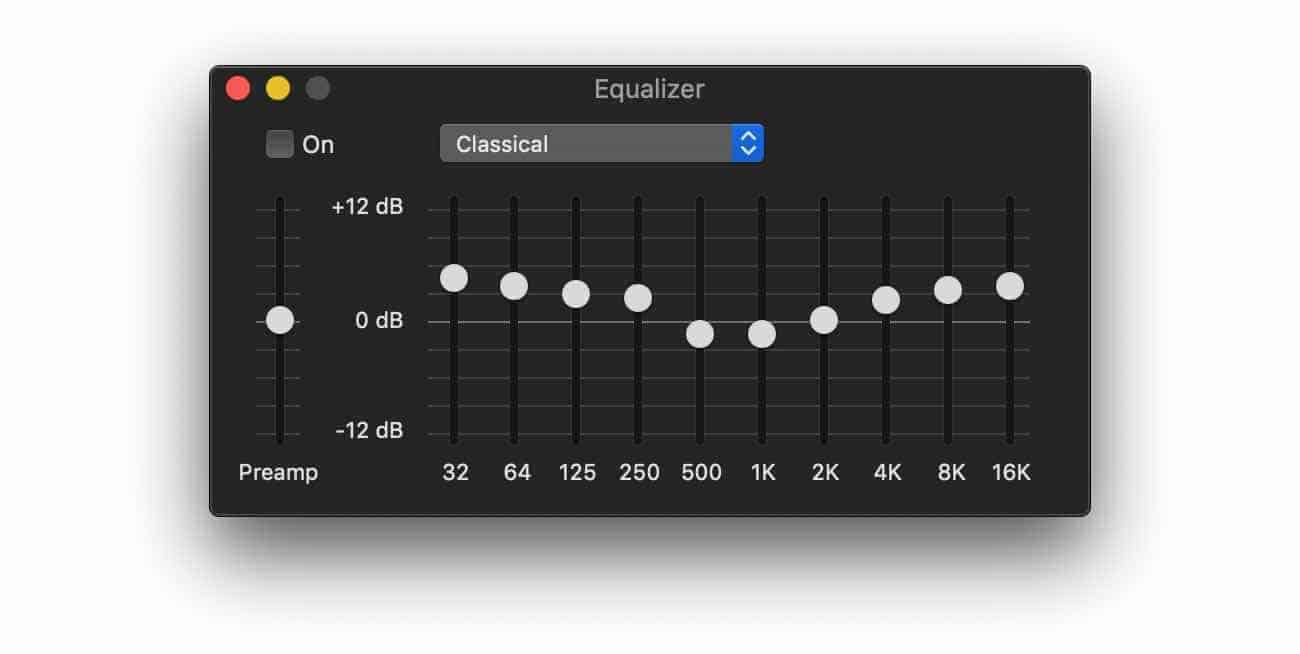
Above: I like the Classical preset on iOS because (assuming it’s the same as on the Mac) it boosts both the bass and the treble. I wish I could push the highs up a bit more, but this is good enough.
Noise Cancelling
Neither of the headphones eliminate all noise. I had heard such crazy reviews and testimonials (especially regarding the Sonys) that I somewhat expected them to eliminate the sound in a room down to nothing at all. And, sadly, while they do work well they don’t work that well.
When comparing them side by side the Sonys were somewhat better for noise cancelling. Both sets of headphones cancelled out the same types of sounds — but the Sonys seemed to reduce ambient sounds by a few more decibels than the B&Os.
An example of a real-world use: About a month ago we had a late-season snow storm, and around 10 in the morning my neighbor got his snow blower out in order to clear his driveway. My office window is about 30 feet from my neighbor’s driveway. His gas-powered snow blower sounds like a lawn mower. I put my headphones on and I could still hear the engine gurgling. But then, I turned on the noise cancelling and I literally could not hear the snow blower at all. Pretty amazing.
Lastly, one thing that is important for me is that neither of the headphones cause any sense of pressure on the ear-drum (like the Bose Quiet Comfort headphones do).
Comfort
For me, the comfort issue ultimately comes down to the headband padding.
Alas, I don’t have much hair left on the top of my head, and what is left I keep pretty short. So whatever headphones I wear, it helps if there is extra padding on the headphone band.
In this regard, the Sony headband is just a bit softer than that of the B&O, thus making the Sonys a bit more comfortable. But for long-term usage, it didn’t really seem to matter.
After 3-4 hours of wearing either pair of headphones, I will get a bit of discomfort at the crown of my head where the headband rests. And so, alas, if I had more hair then I think maybe this wouldn’t be an issue for me.
Build and Style
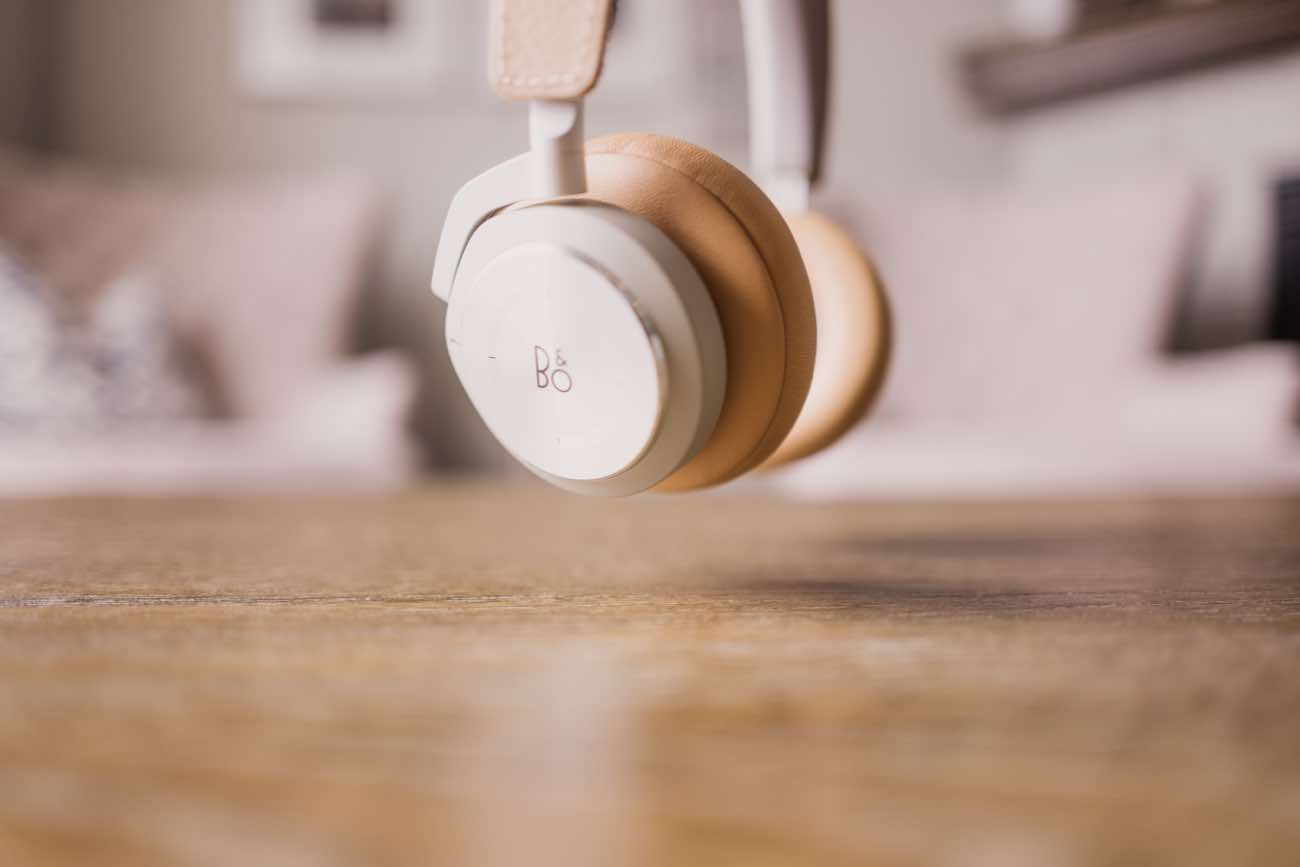
No comparison here. The B&O are gorgeous, high-quality, and built to last.
The Sonys look nice and have some cool brass accents, but they also look more generic; they don’t have the quality feel that the B&Os do.
I also can speak to the overall quality of B&O in general.
I have a different, 4-year-old pair of B&O H7 headphones that I have used constantly since I bought them in 2015. I have traveled with them all over the country — never once putting them in a case — and they still look and sound brand new. The only reason I am “upgrading” to a new pair of headphones is because I wanted to get active noise cancelling.
Bluetooth Pairing
Look. If your headphones don’t support multi-device pairing then they’re doing it wrong.
Tell me if this sounds familiar:
- You sit down at your Mac or iPad to do some work.
- You put on your headphones or AirPods.
- But they pair with your iPhone that’s in your pocket.
- So you go to the settings app on your aforementioned Mac or iPad and get your headhones to pair with the device you’re actually in front of.
- Repeat every day.
Imagine instead a scenario where you sit down to do some work, you put on your headphones, and they are automatically paired with the device you’re using. Because they can pair with multiple devices at once! I can tell you: it’s wonderful.
The B&O H9i headphones can be paired with multiple devices at the same time. When I turn them on, they simultaneously pair and connect with my iPad and my iPhone. Then, whatever device I play music from, or watch a video from, etc. They just work.
I didn’t realize how incredibly helpful and frictionless this was until experiencing it. In fact, after having this “always connected / it just works” experience with the B&O headphones it has made my AirPods feel outdated. (I can’t believe Apple didn’t include multi-device pairing in the recent AirPod update.)
In contrast, the Sony headphones can only be actively paired with one device at a time. Like an animal.
Other Tidbits
- The B&Os have an accelerometer feature where they can pause your music if you take the headphones off, and then they un-pause the music when you put your headphones back on. However, in my usage, it was always getting false positives and it was super annoying. Fortunately you can disable the feature — though it’s an incredibly obscure process that you would never know without reading the manual or searching for a solution. I’m not sure why this isn’t at least a toggle within the iOS app.
- The stated battery life on the Sony is 30 hours compared to 18 hours for the B&Os. I never really did an in-depth test of the batter usage. But since February I can only recall one or two times that I’ve charged the B&O headphones, and I wear them for a few hours every workday. So, I guess what I’m trying to say is that they get plenty amazing battery life for me.
- USB-C! Yay. One less cable that I have to carry around and use. And it means my iPad can charge them.
- The Sony headphones fold up and collapse better than the B&O headphones which, well, don’t really fold up at all. The Sonys also come with a nice, hard-shell carrying case. The B&Os come with a cloth bag.
My Pick: The B&O H9i
After all my comparing and side-by-side usage, I went with the B&Os.
To sum it all up for my preference as to why:
The B&Os sound better to me. They are full, with lots of clear bass while also having a natural and clean sound.
The B&O headphones have a much better build quality than the Sonys. Plus, they look cooler.
While I do think the Sonys had better noise cancelling, it wasn’t enough to tip the scales.
And, of course, there is the fact that the B&Os can be paired with multiple devices at the same time! As I said in this section above, multi-device pairing removes a huge point of daily friction which ended up being one of the big things that pushed these headphones to get the win.
If you’re on the hunt for the best pair of noise cancelling headphones you can buy, then my suggestion is that you get the B&O H9i and enjoy.