On March 1, 2018 I bought a 1984 Jeep CJ-7. Here is my build thread.
You can also follow me on Instagram for photos and stories.
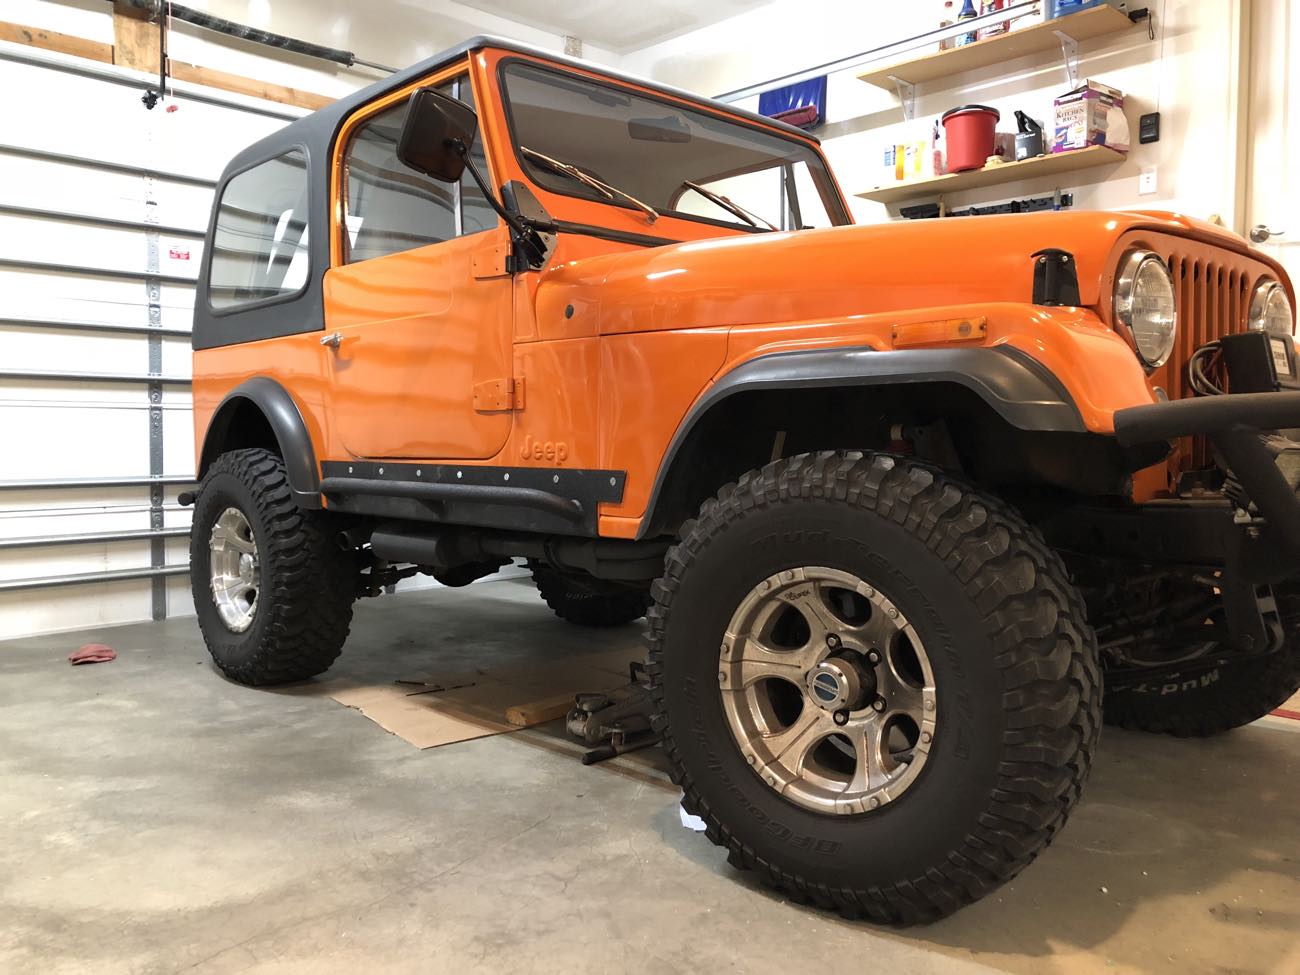
*Here is the Jeep as it sits right now…*
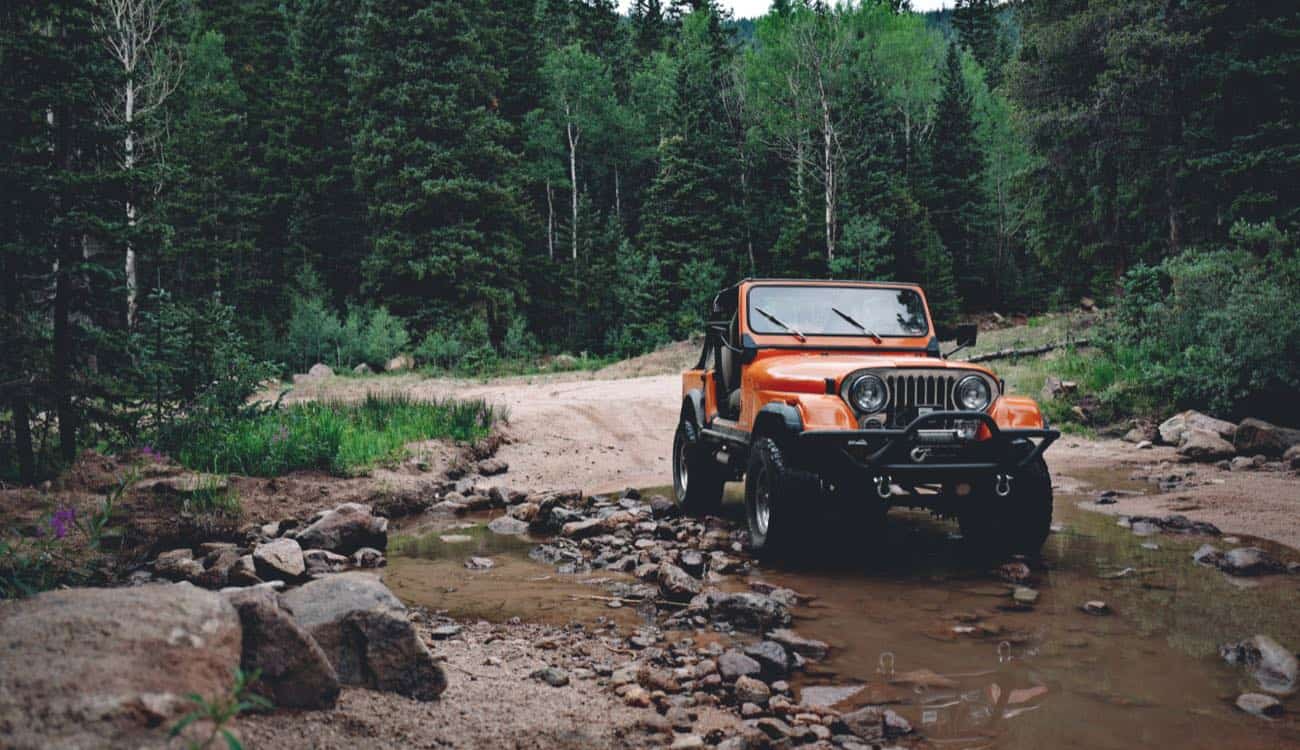
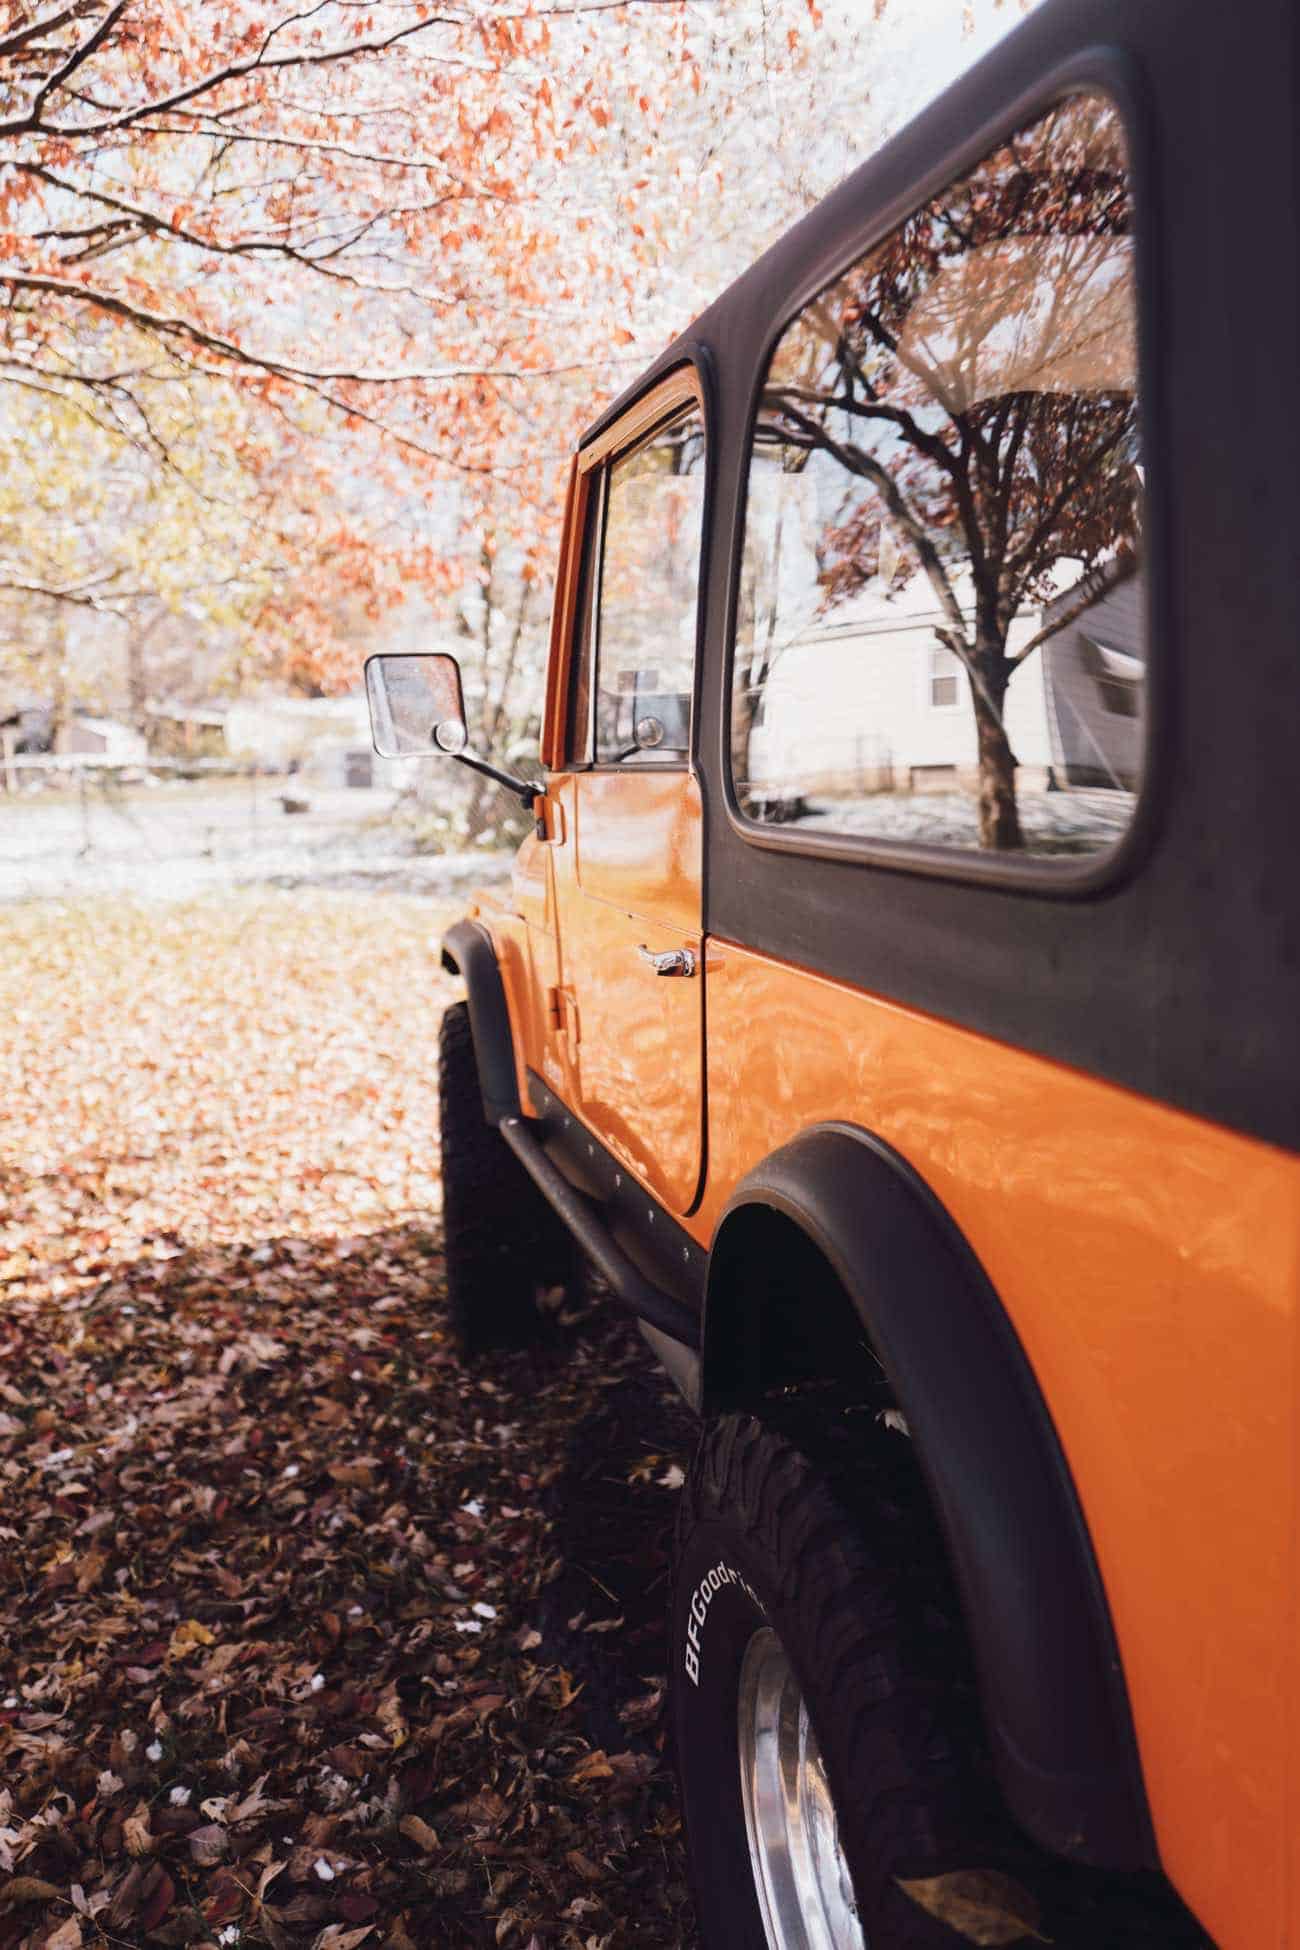
* 1984 Jeep CJ-7
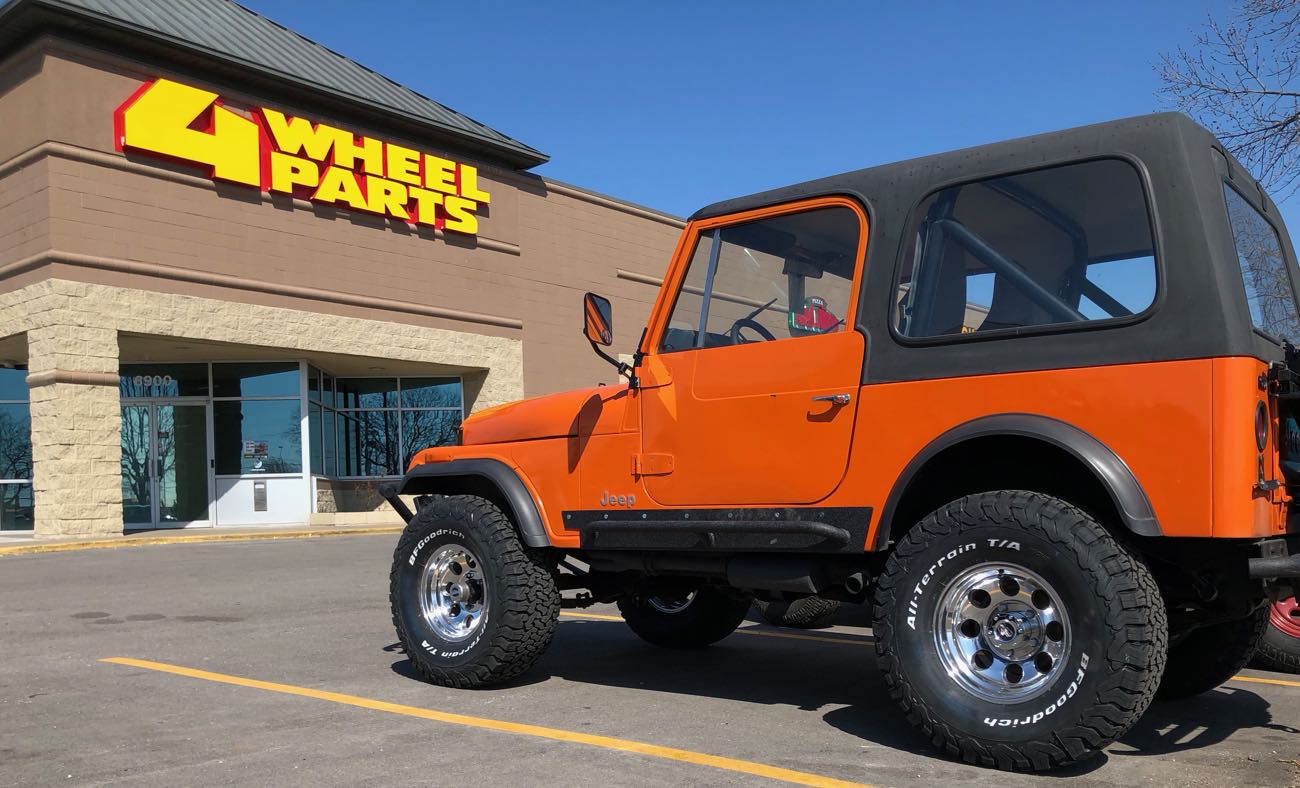
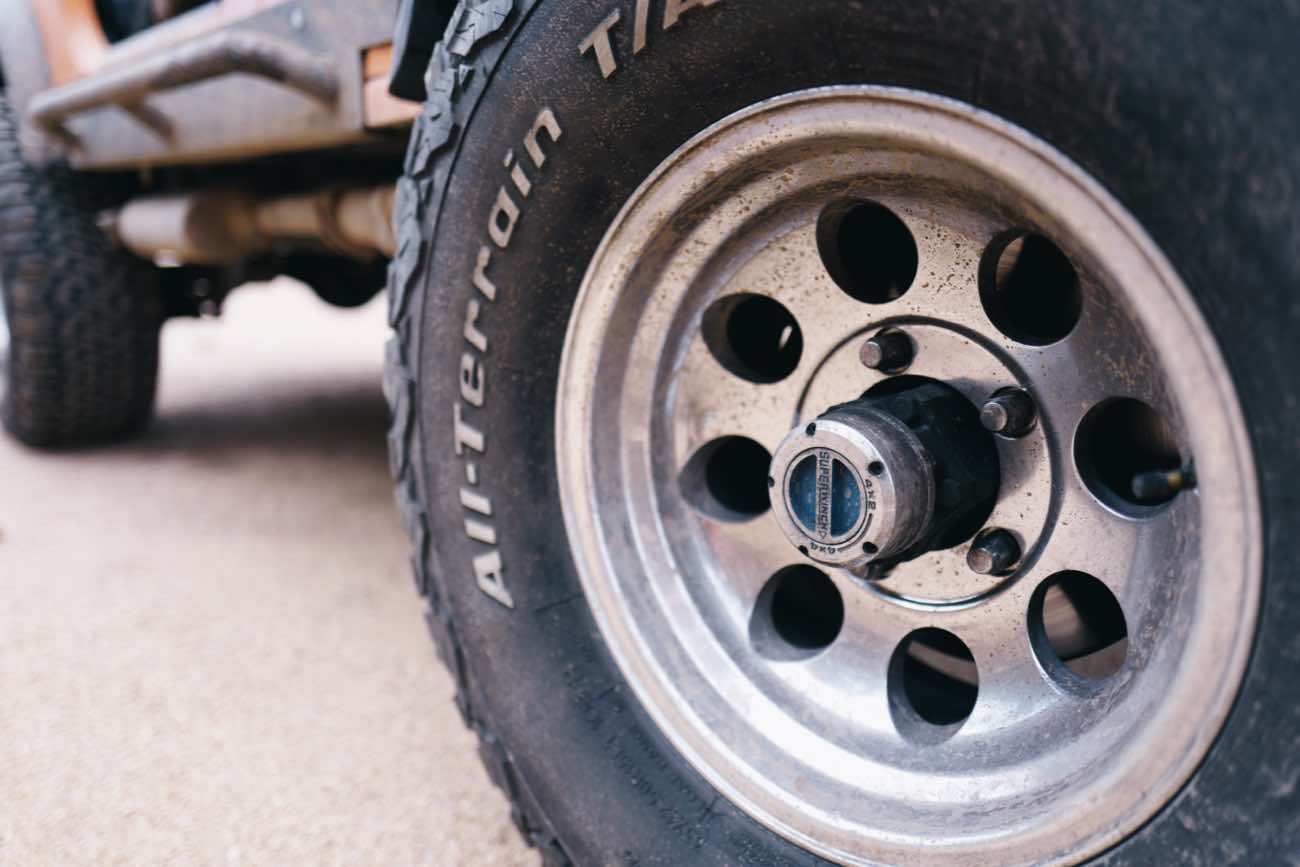
* 33×12.50×15 BFG All Terrain KO2s on 15×8 Pro Comp Wheels
* 2.5-inch BDS Glide Ride Suspension Lift with 1-inch Daystar Body Lift
* AMC 360 V8 with mild cam
* Edelbrock performance intake and 600 double barrel carb
* Hedman long-pipe headers with Flowmaster exhaust
* PSC variable ration steering gear box
* 3.73 gears with limited slip rear locker and one-piece axles
—-
### Why a CJ-7?
— Jeep (@Jeep) March 15, 2018
Since selling [my 1990 Jeep YJ back in 2008](https://shawnblanc.net/2008/12/champ/), I have been waiting to get another old Jeep.
While newer Jeeps are safer, more comfortable, and reliable, they also lack the personality of an old Jeep. Since this CJ-7 is not my daily commuter car (I work from home), I had the liberty to get something less practical.
I read this once regarding old Jeeps:
> *”I don’t own a Jeep to be practical — driving almost any other vehicle makes you realize just how impractical Jeeps are. But on a sunny day with the wind in my hair, there isn’t any vehicle that can put a bigger smile on my face and I’m like a kid again thinking of excuses just to drive somewhere. Sometimes I pause in the garage just to look at it.”*
—-
My budget for the Jeep was enough that I could have found something fully, frame-off restored and built up. But instead I opted to get something that was roughly half my budget: something in excellent mechanical condition but that didn’t yet have all the upgrades I wanted and that still needed a little bit of wrenching. This way, I could spend the remainder of my budget on doing the exact upgrades and mods that I wanted, in order to not only enjoy the process of doing the work myself but also to end up with a Jeep that had the exact mods I wanted.
When looking for the CJ, I wanted something in orange, red, or green that came with a hard top and matching steel doors.
I set up an IFTTT recipe to monitor Craigslist and let me know of any new listing related to “CJ” within about a 600 mile radius of Kansas City. On Feb 27th I found the Jeep I wanted. It was located in Wichita.
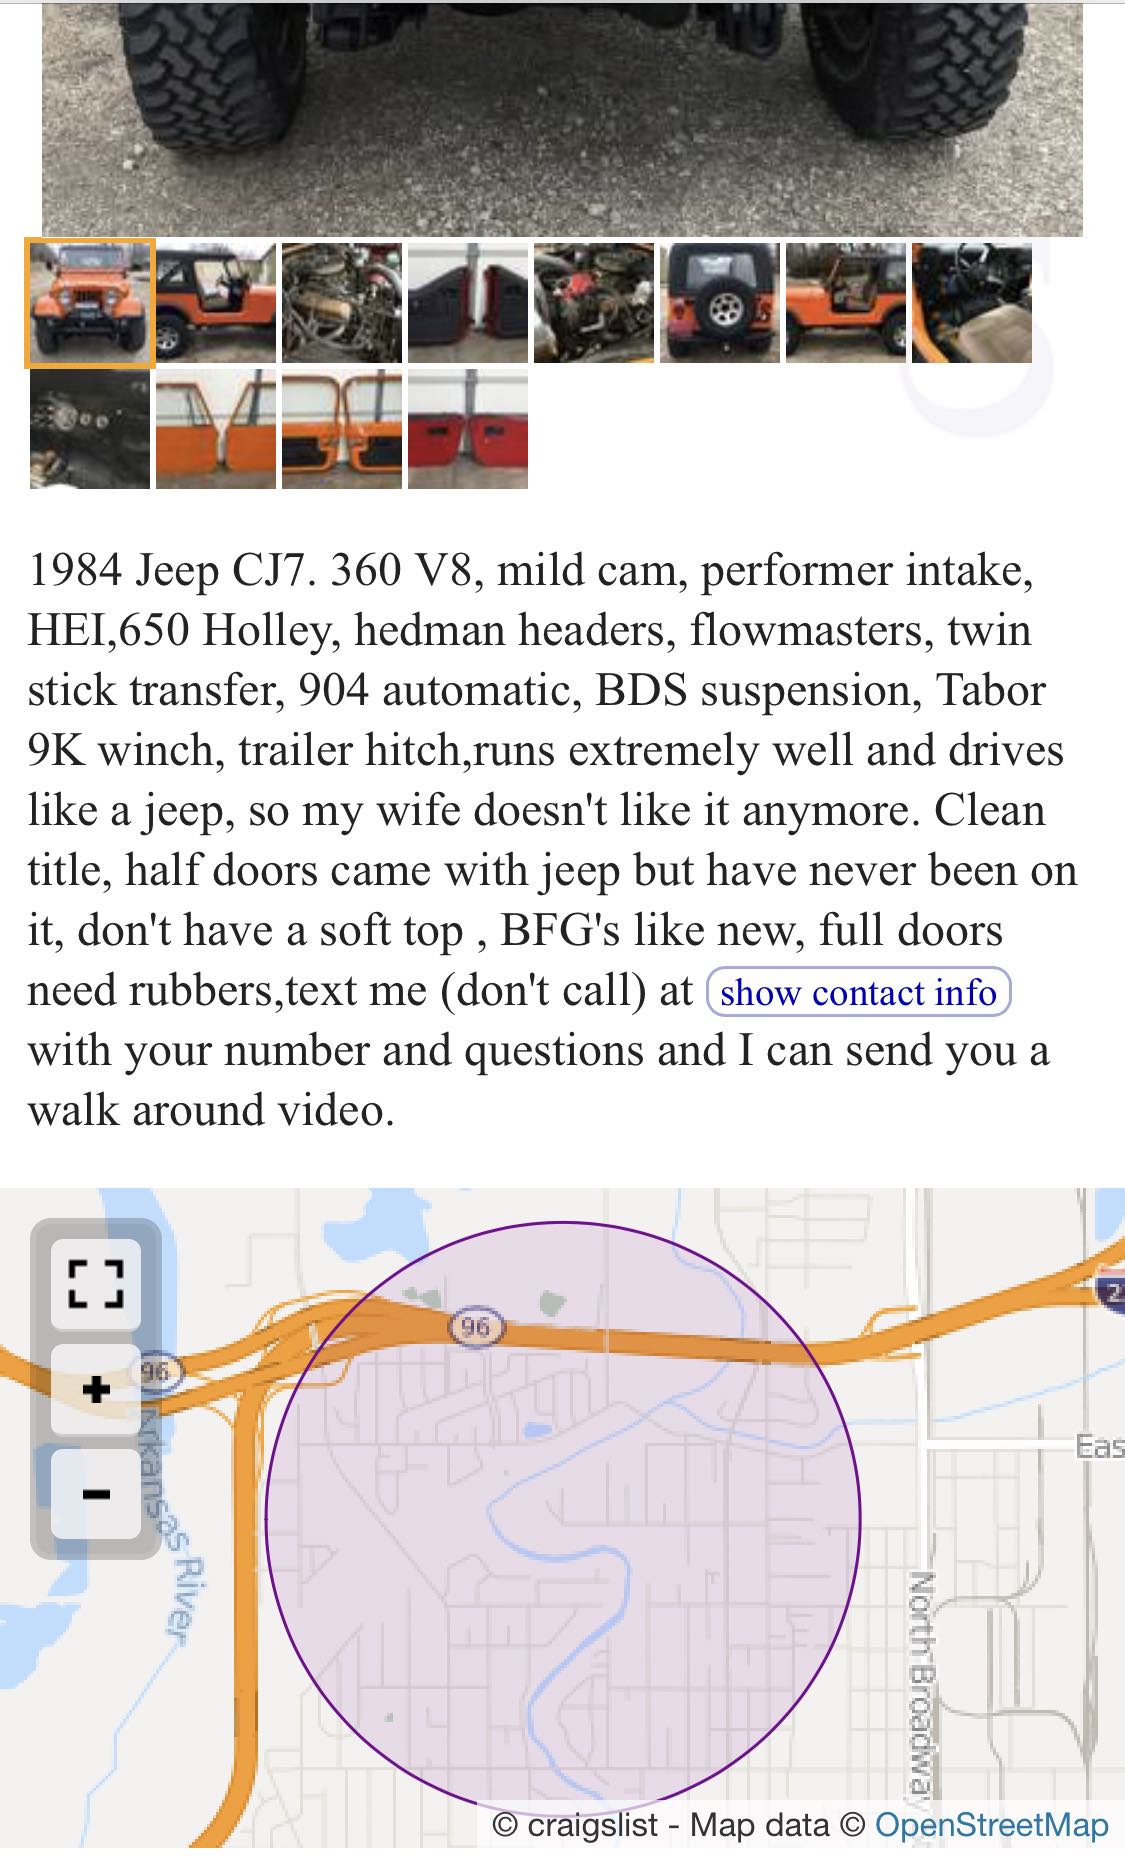
After texting with the owner we landed on a pretty great price, and I drove down there on Thursday March 1 with my dad to pick it up.
At the time I bought it, it had these mods / upgrades:
* Rebuilt AMC 360 V8 with mild Cam
* Holley Performer intake
* HEI Distributor
* Hedman headers and dual Flowmaster exhaust
* 650 Holley double pumper carb
* New Master Cylinder
* BDS 2.5-inch Glide Ride suspension lift
* Chevy 904 (or possibly A999) automatic transmission (a.k.a. TorqueFlite) with gear ratios of 2.74, 1.54, and 1.00 (or possibly of 2.45, 1.54, and 1.00 if it’s the A999).
* B&M ratchet-style Megashifter
* Tabor 9K winch
* Steering box brace
* Smittybilt front and rear tube bumpers
* Rhinolined tub
* Restored dash with radio slot delete
* 32×11.50×15 BFG Mud Terrains on butt-ugly 6-spoke hot rod wheels
The CJ also has:
* Wide Track AMC 20 rear axle with 2.73 open gears (i.e. [Code D](http://www.jeeptech.com/axle/amc20.html))
* Dana 30 front axle
* Dana 300 twin stick transfer case
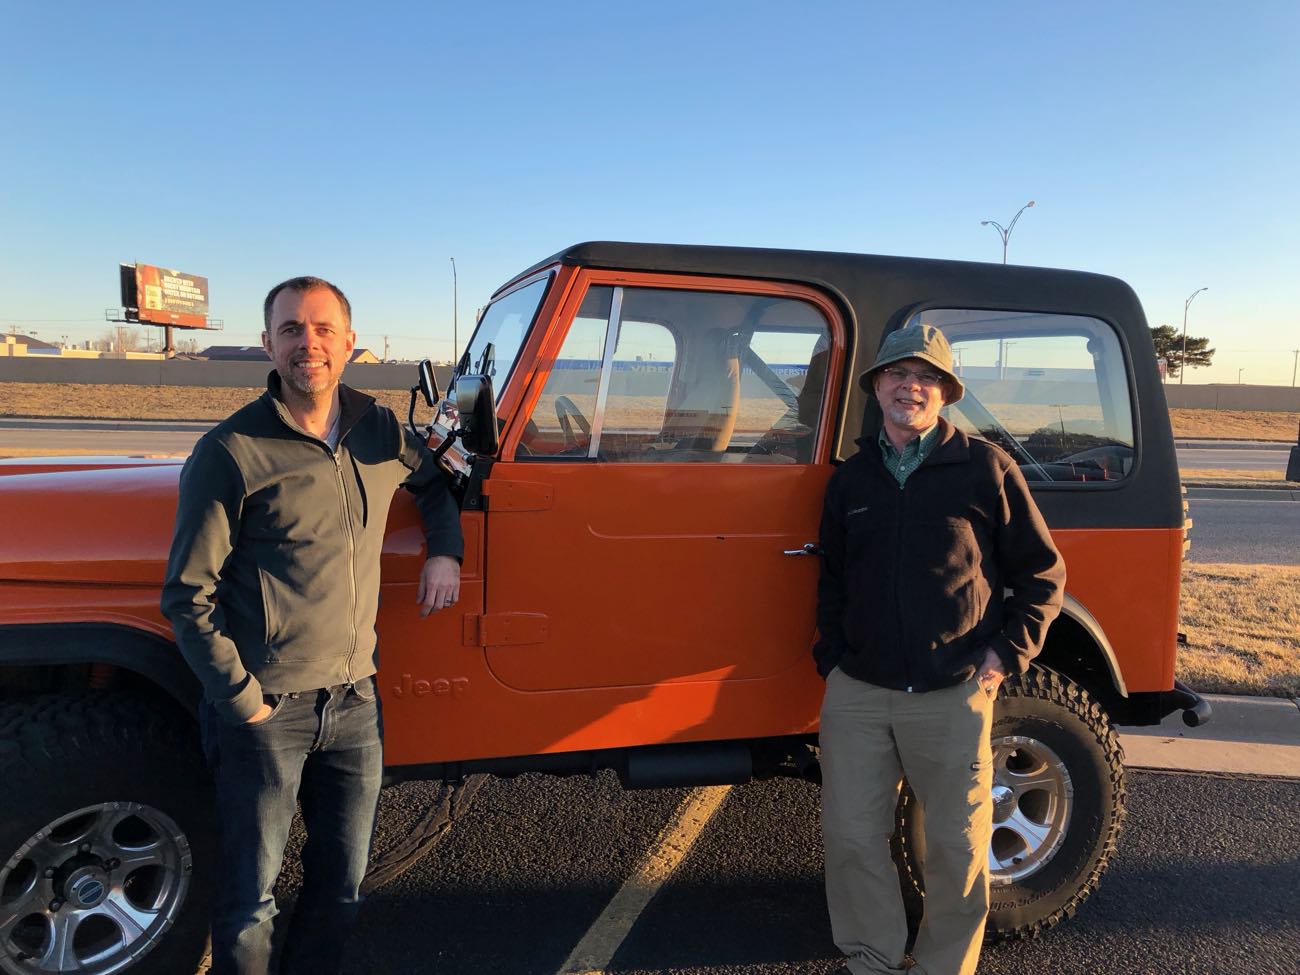
*(My dad and I, picking up the CJ-7 in Wichita on March 1, 2018)*
When we got to Wichita, we found out that the CJ-7 gets a whopping 6 MPG. There was no way we were going to drive it back to Kansas City. And my dad’s Lexus didn’t have a tow hitch hookup so we couldn’t get a trailer either.
I found a place that transports cars between Wichita and Kansas City and they do routs every day. We were able to drop the Jeep off with them that night and by the next morning it was delivered to a lot that was only 5 miles from my house. Cost for transport was just $175, though I paid $200 because I only had cash in $100 bills after buying the Jeep, and so I tipped the guy $25 for allowing us to get onto the transport at the last minute.
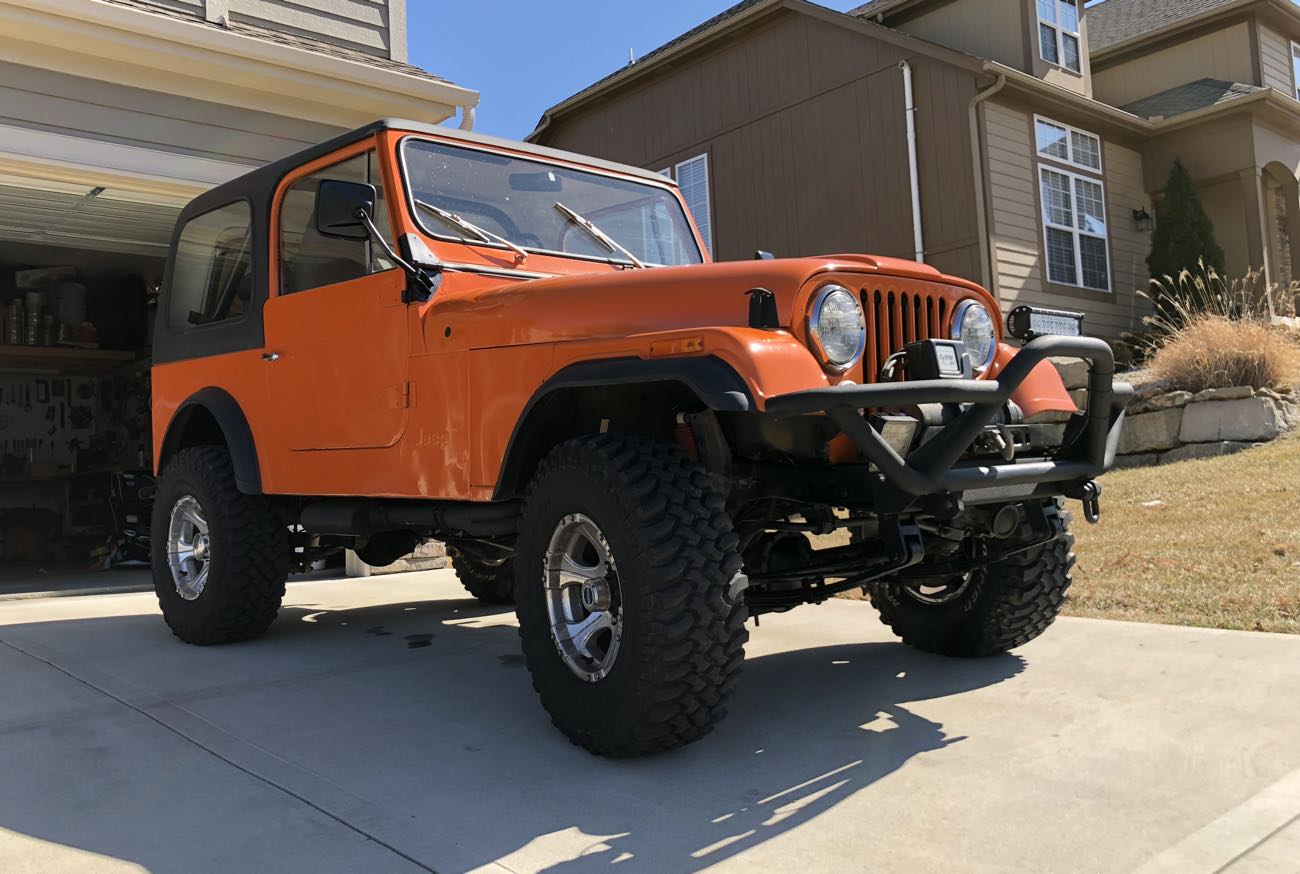
The next morning, the Jeep had been transported to Kansas City and was parked in my front driveway…
### Build Wishlist / To-Do List
* Smittybilt Rock Sliders (done)
* 33×12.50 BFT All Terrain TK02 tires (done)
* 15×8 Pro Comp chrome wheels (done)
* Chrome front grill (done)
* Grant steering wheel (done)
* Tachometer (done)
* 1-inch Body Lift (done)
* Replace the transmission shifter (done)
* Build a hard-top hoist and holder (done)
* Front, folding center seat with console to allow for 3 up front (done)
* New axle gears from 2.73 to either 3:73 (done)
* Limited-Slip locker in the rear (done)
* New, heavy-duty steering shaft to fix sloppy steering (done)
* New Steering Stabilizer
* Variable Ratio Steering Box (because highway speeds) (done)
* YJ Family Roll Bar Upgrade (because kids)
* Add all the rubbers and weather strips to the full steel doors (done)
* Gas tank upgrade to a 21 gallon (because 6mpg!) *After getting a new carb and tune-up, the Jeep now gets 13 MPG. Yay!*
#### Safety Inspection
*Monday, March 5, 2018*
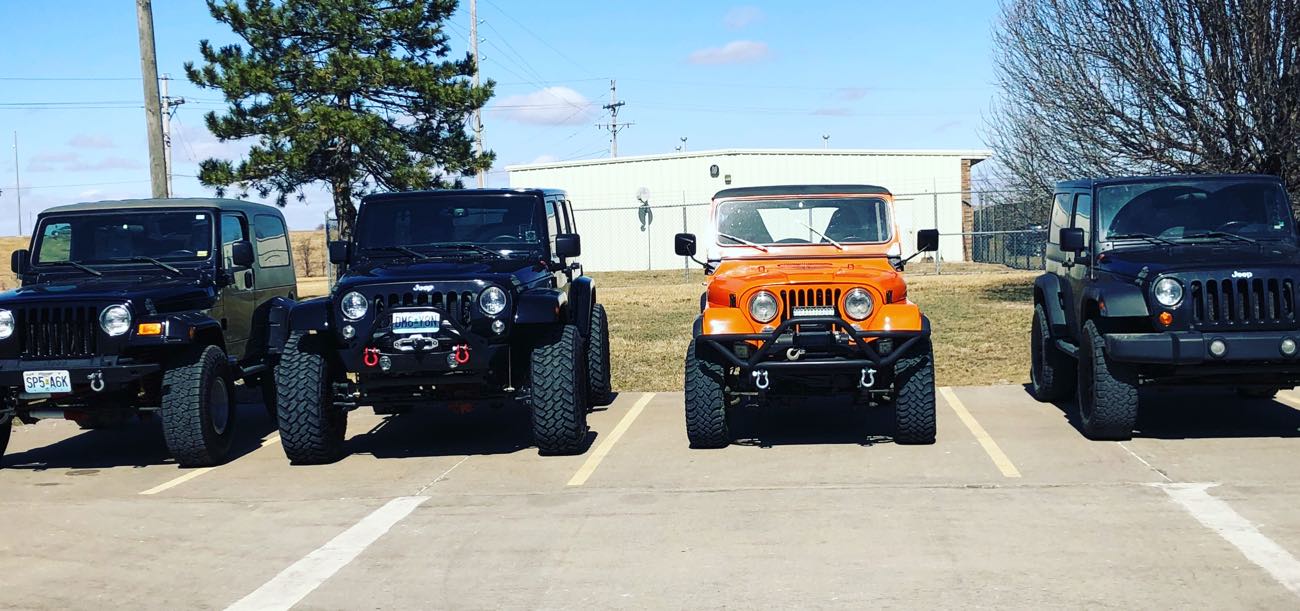
Took the Jeep to [Stomper’s Off Road shop](https://www.facebook.com/StomperOffRoad/). A place that specializes only in Jeeps. When parking it, was the only jeep older than a few years. There were a whole bunch of black Rubicons in the parking lot, and one orange CJ…
After a 3-hour inspection at Stomper’s, this is the list of work needs to be done to the Jeep:
* Front drive shaft bent (u joints bad as well)
* Rear pinion seal leaking
* Transmission leaking from electrical plug
* Front passenger U joints failing
* Small amount of water in oil breather
* Missing and loose valve cover bolts
* Plugs and wires need replaced
* Electric fuel pump possible small leak
* Doors very loose and latch and door surrounds
* Carb and Timing need tuned due to elevation change
* Shift linkage not set correctly needs addressed
* Small antifreeze leak from petcock area
* Oil Pan bolts loose… not to torque
* Transfer case leak
All in all, it’s in very good shape. Many of the leaks are normal and small.
The work I’ll have Stomper do is:
* Full tune up (plugs, wires, cap, timing, carb)
* Front drive shaft and U joints
* Front Passager U Joints
* New Fuel Pump
* Checking and tightening all the bolts on the oil pan, valve covers, and around the engine.
#### Rock Sliders
*Wednesday, March 7, 2017*
Today the [Smittybilt rock sliders](https://www.4wheelparts.com/Armor-Protection/Smittybilt-XRC-Rock-Sliders-Black-76865.aspx?t_c=79&t_s=466&t_pt=5129&t_pn=S/B76865) were delivered, along with a new breather for the intake and a clean (and bigger) air filter for the carb.
I started work on installing the sliders, but, alas, they didn’t come with any mounting hardware so I drove to Lowe’s to pick up some bolts.
Side note: I thought the Jeep had been frame-off restored. But after trying to remove the body mount bolts on the driver’s and passengers side, it’s clear that they’ve never been touched before. There was a ton of rust on the bolts. And the passenger-side, center body mount is stripped out — the top nut is spinning, so I’ll have to drill an access point so I can hold the nut while loosening the bolt.
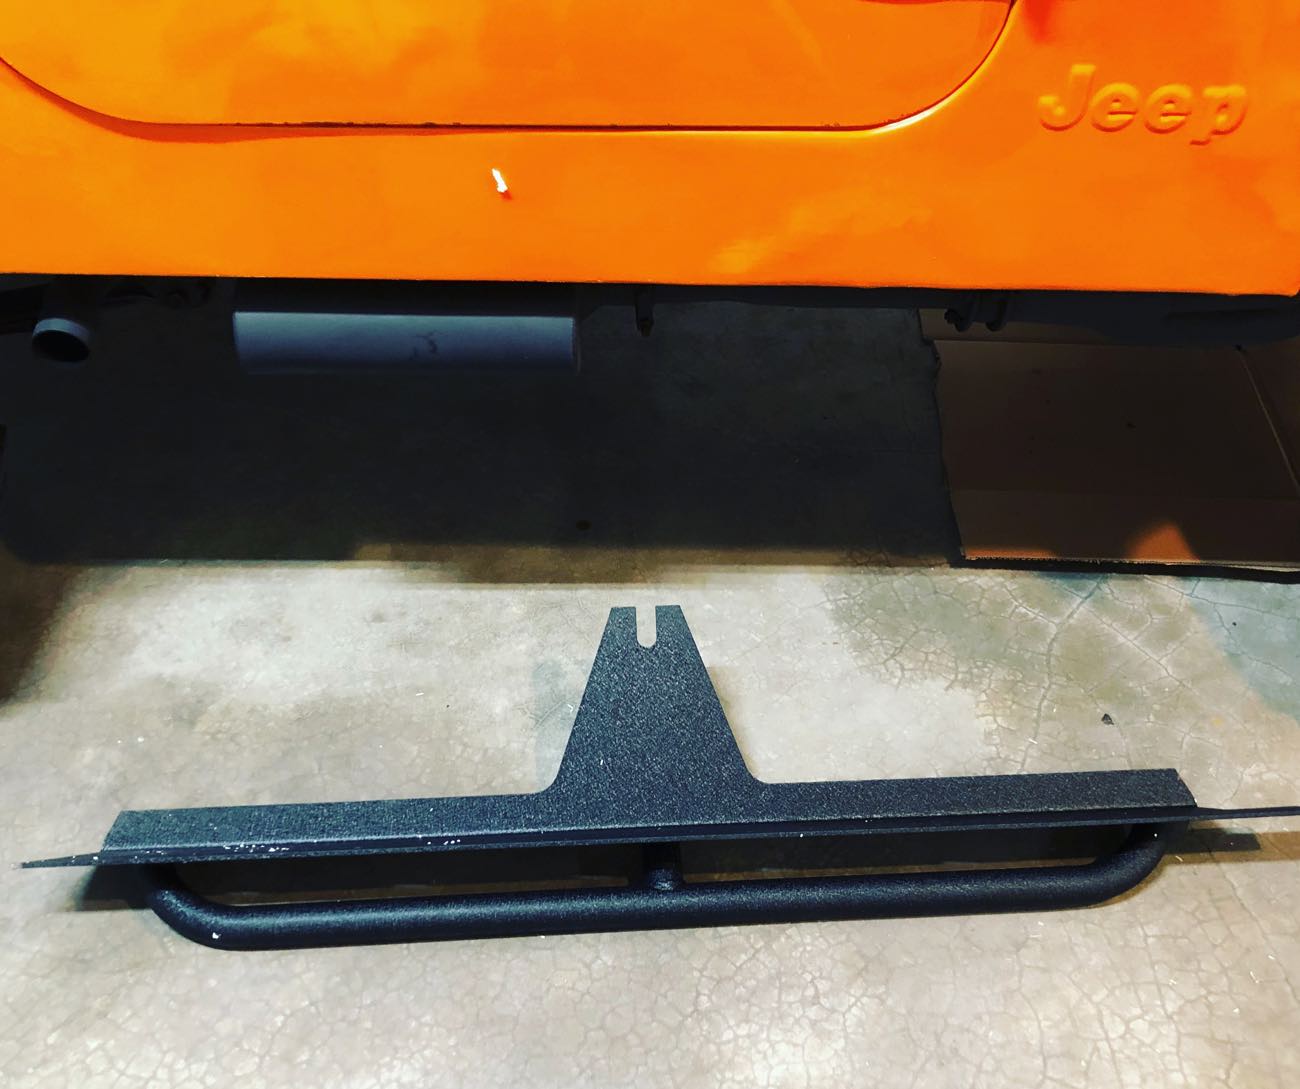
*(About to mount the passenger-side rock slider.)*
The driver’s side was much simpler. I was able to loosen the front two bolts. The third one (closest to the rear tire) is not even there. Then I was able to lift the body up using my hydraulic lift and a 2×4, put the rock slider in place above the center bushing, and then lower the body back down and put the two bolts back on.
Here is the driver-side rock slider in place but the side body mounts are not yet drilled in.
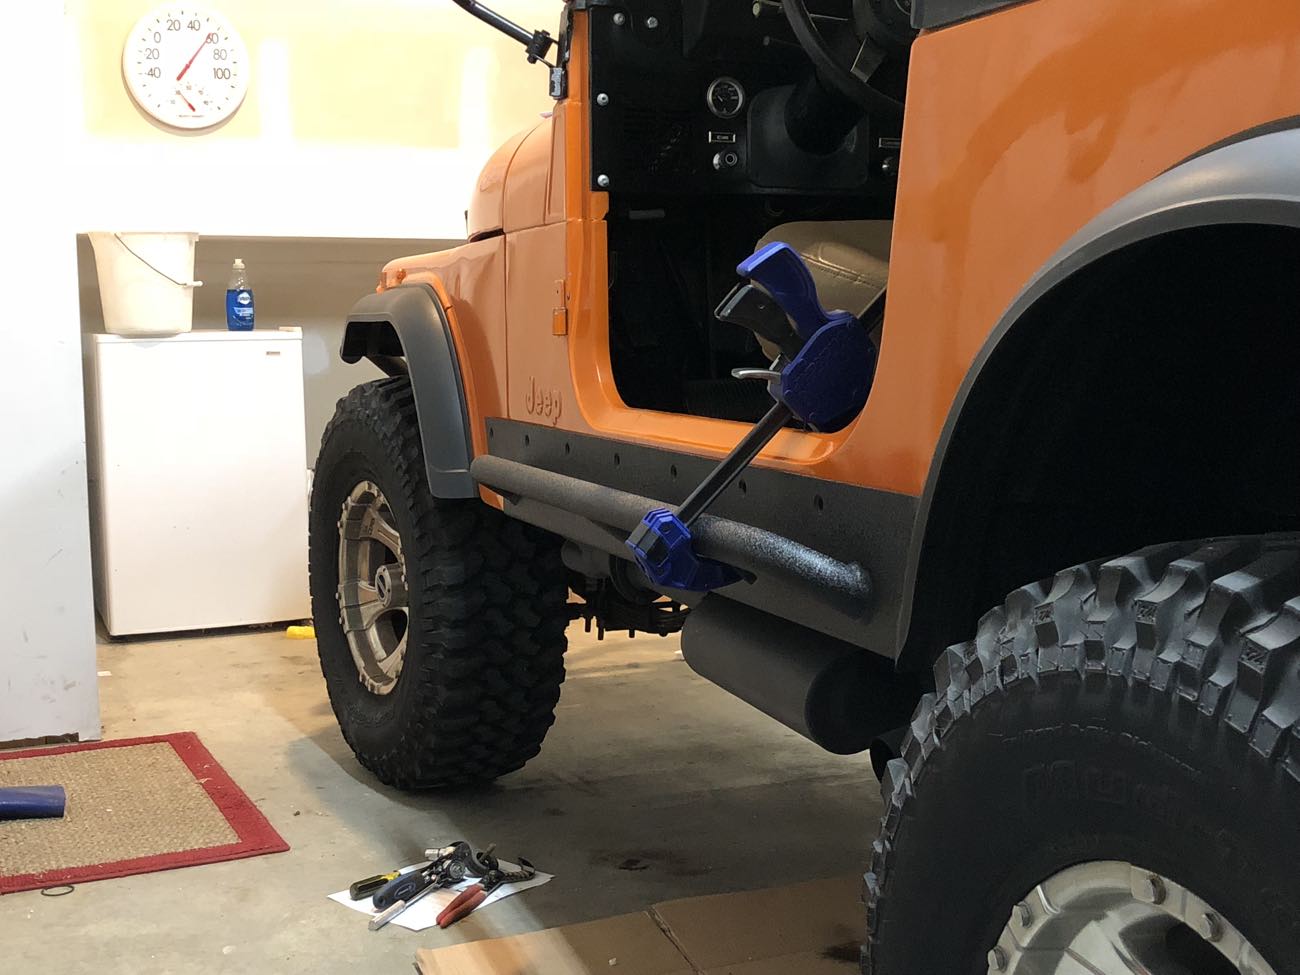
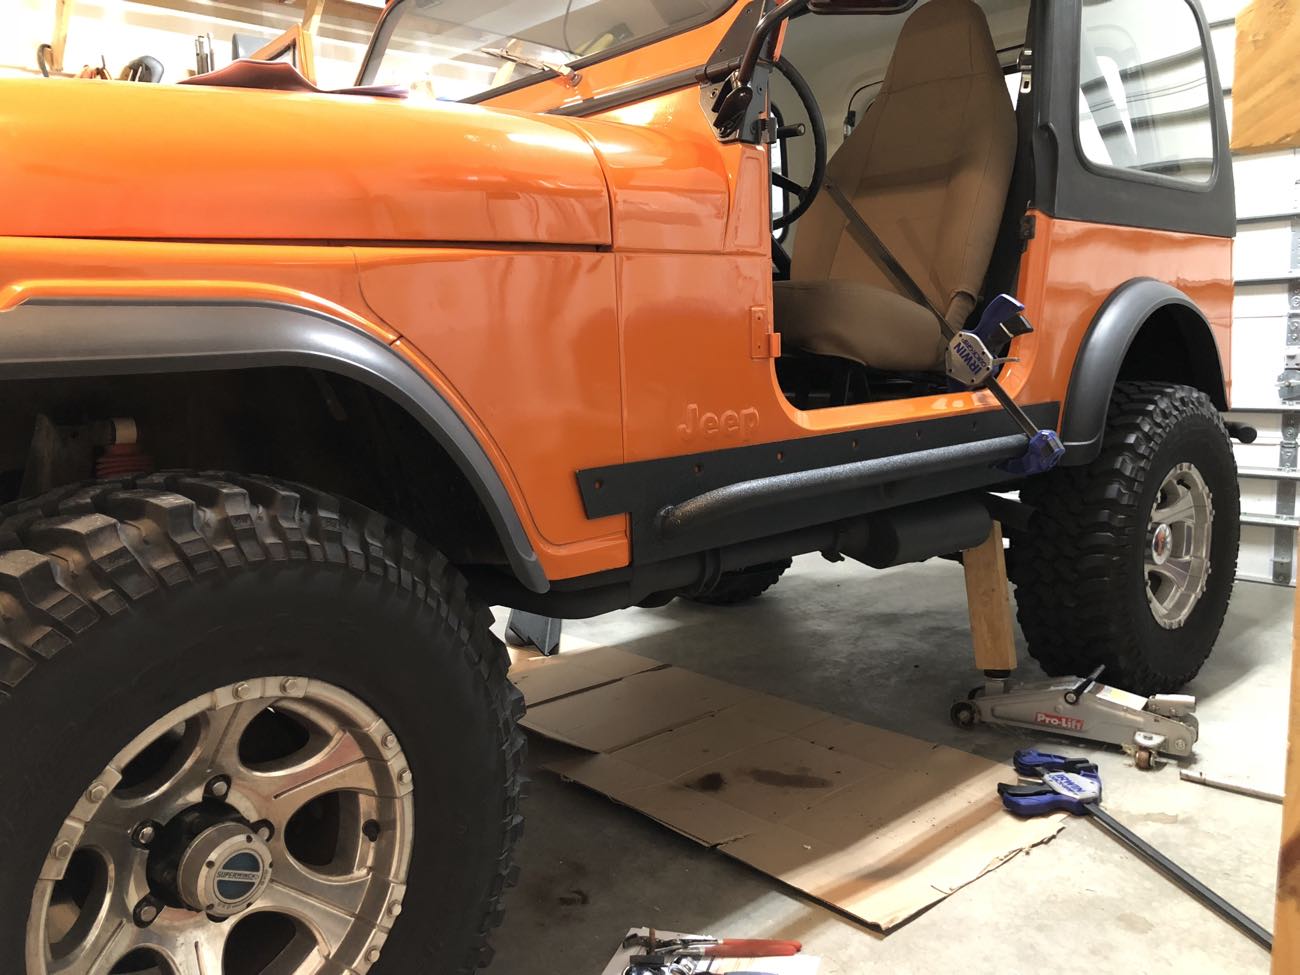
With the exhaust pipes right under the doors like that, these rock sliders won’t really do much more than look cool and serve as a step to get into the Jeep.
#### New Carb Filter and Oil Breather
*Wednesday, March 7, 2017*
Replaced the 10″ carb filter along wit with a new, matte black cap. Also replaced the oil breather, as the old was was fully saturated and blowing oil onto the underside of the hood.
#### Finished the Rock Sliders
*Sunday, March 11, 2017*
Using a Dremel, my dad I were able cut out a small section of the body just under the passenger seat in order to access the top of the center body mount bolt. From there we were able to get the top bolt nut to hold in place in order to loosen the bolt and finally install the passenger side rock slider.
#### New Shift Knobs for the Dana 300 Twin Stick
*Monday, March 12, 2017*
Picked up these billet aluminum shift knobs for the Dana 300 so myself or anyone else who is driving, will know how to control the transfer case.


* * *
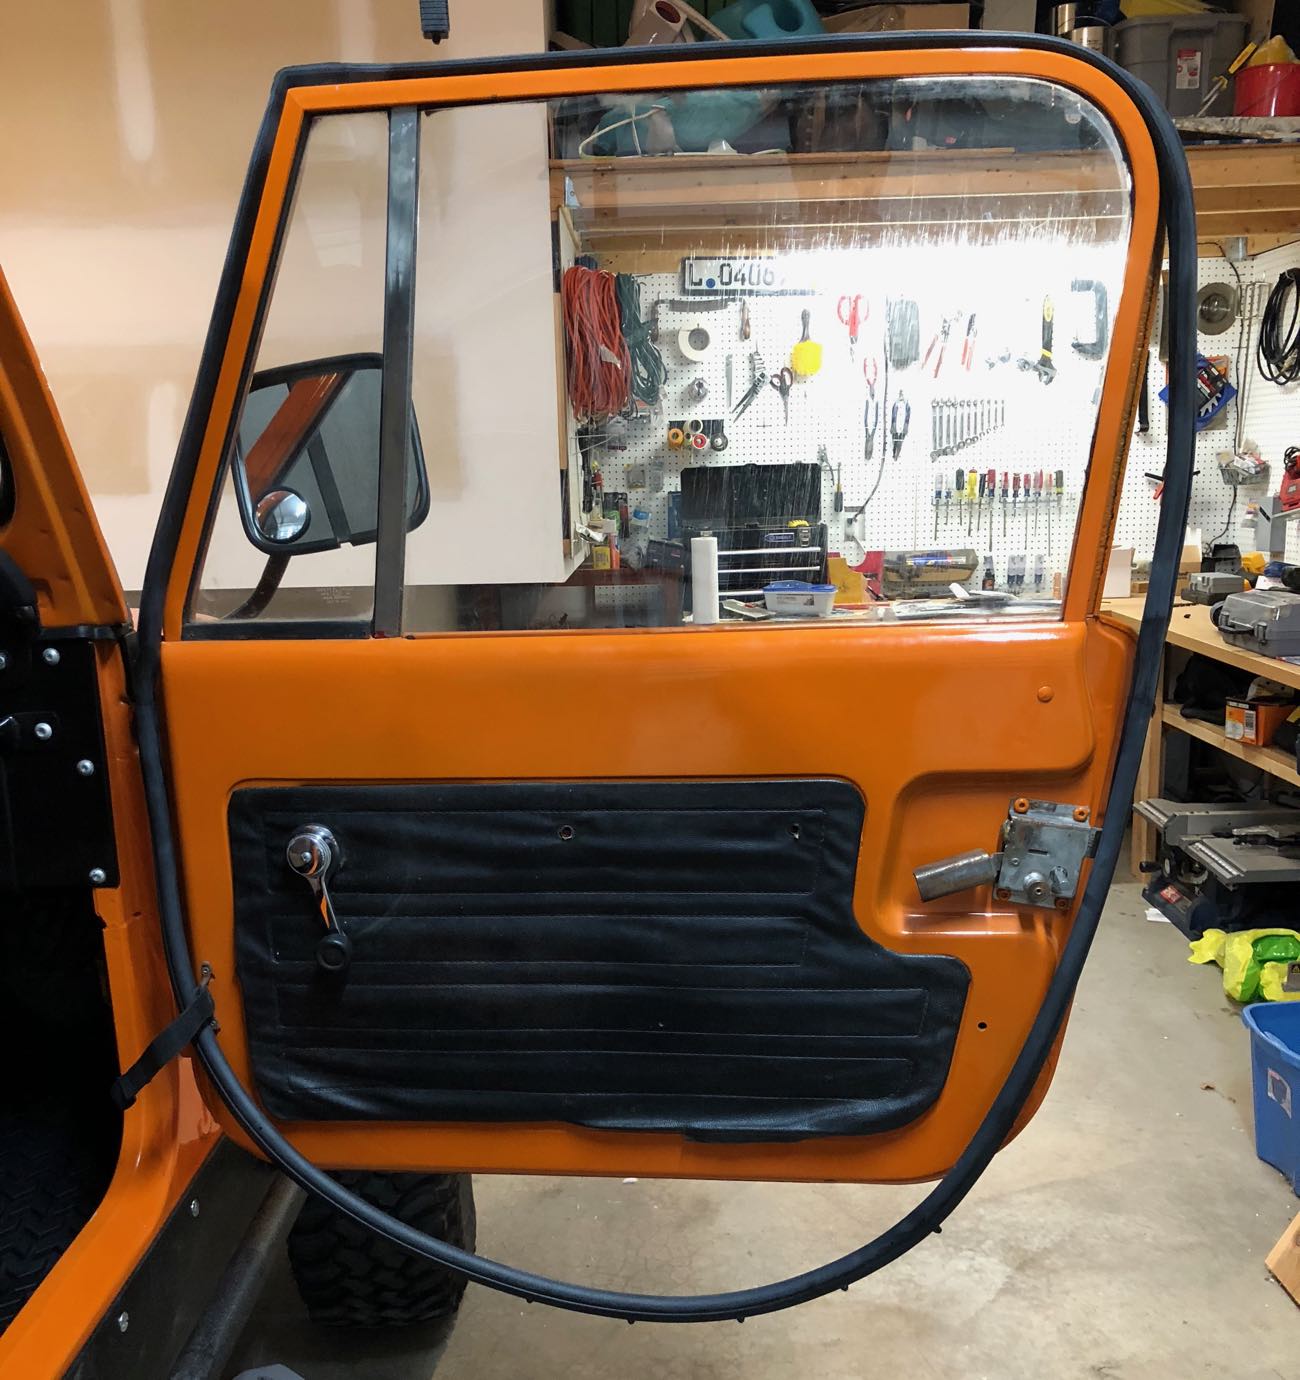
Also got the door rubbers installed. (This is the best upgrade so far! Haha.) The doors no longer rattle like crazy and the Jeep is a bit more temperature controlled (as much as a CJ-7 can be that is).
#### Custom Plates
*Mar 14, 2018*
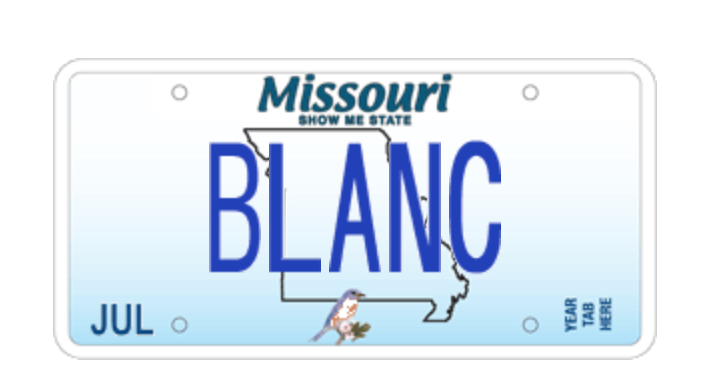
Ordered custom license plates that say “BLANC”. My grandpa had these same custom plates on his old trucks in Colorado. Continuing the tradition here in Missouri…
#### Tuneup
*Mar 15, 2018*
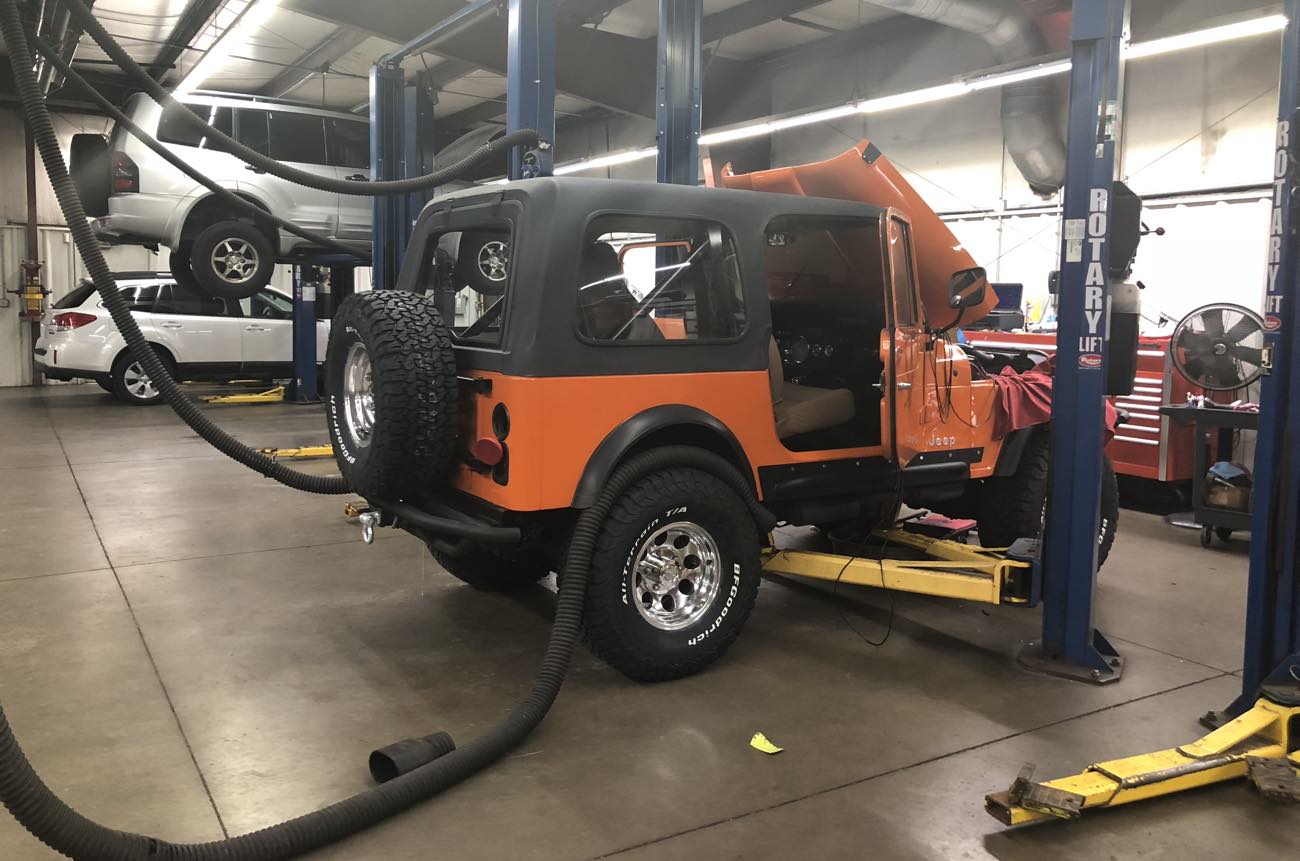
The Jeep has spent the better part of the past two weeks in 3 different shops getting a tuneup (plugs, wires, carb tune), new front drive shaft, new front break lines, having the tranny inspected, replacing the carb, and more.
#### Steering Wheel
*March 21, 2018*
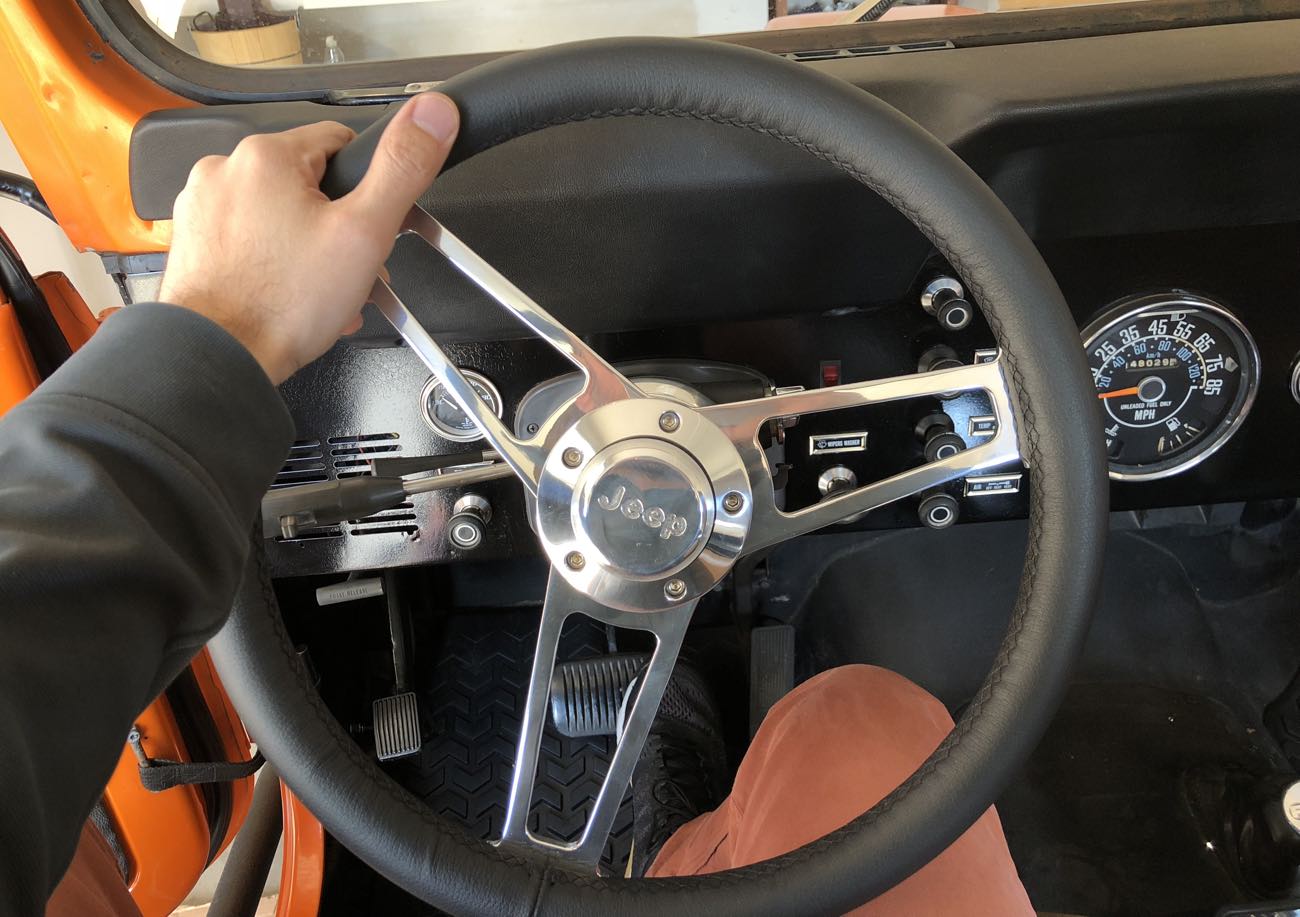
Put on this awesome, custom [Grant steering wheel.]() It has a genuine leather wrap and the Jeep logo in the center cap. You can see the whole process on my Instagram slideshow [here](https://www.instagram.com/p/BgmnwdFnAvv/?taken-by=shawnblanc).
#### Tires and Wheels
March 21, 2018
Had 4 Wheel Parts put on these 33×12.50×15 BFG All Terrain TKO2s with Pro-Comp wheels. ?
#### Chrome Front Grill Overlay
*March 22, 2018*
The chrome grill overlay was a tossup. I love the look with and without it. But I decided to with it as it matches with the polished wheels and I think it gives the whole jeep a bit more of a clean and classic look. I’m not trying to build a mean rock crawler or mud queen.
Here’s a few photos of the Jeep with the headlight and parking light housings removed out and the winch wiring pulled out, me grinding a tab off the chrome overlay, and then the front end once all finished:
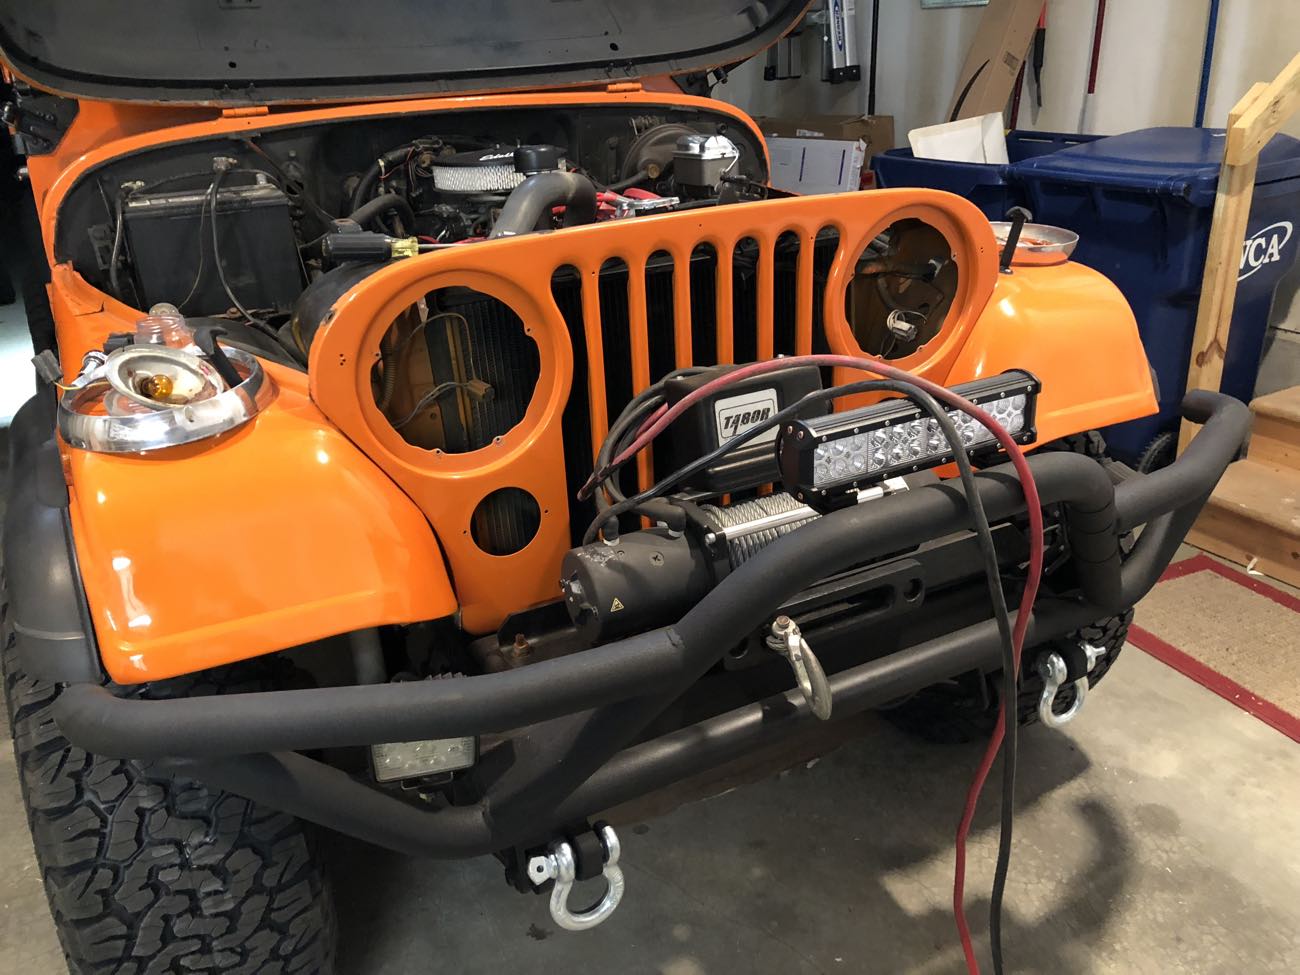
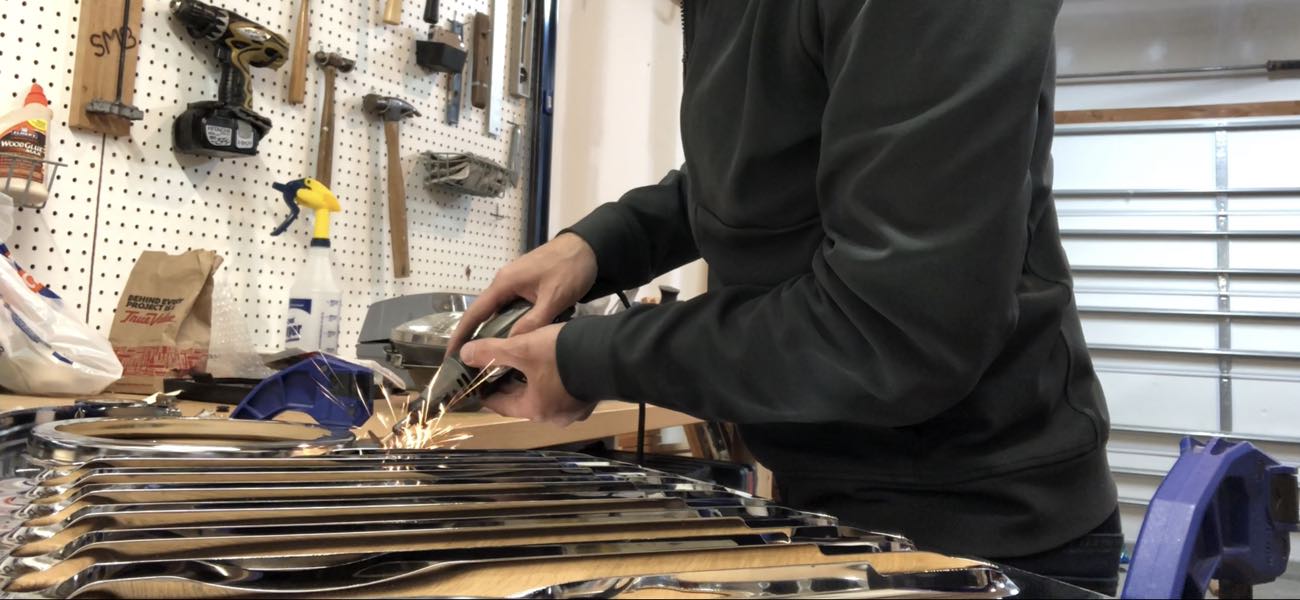
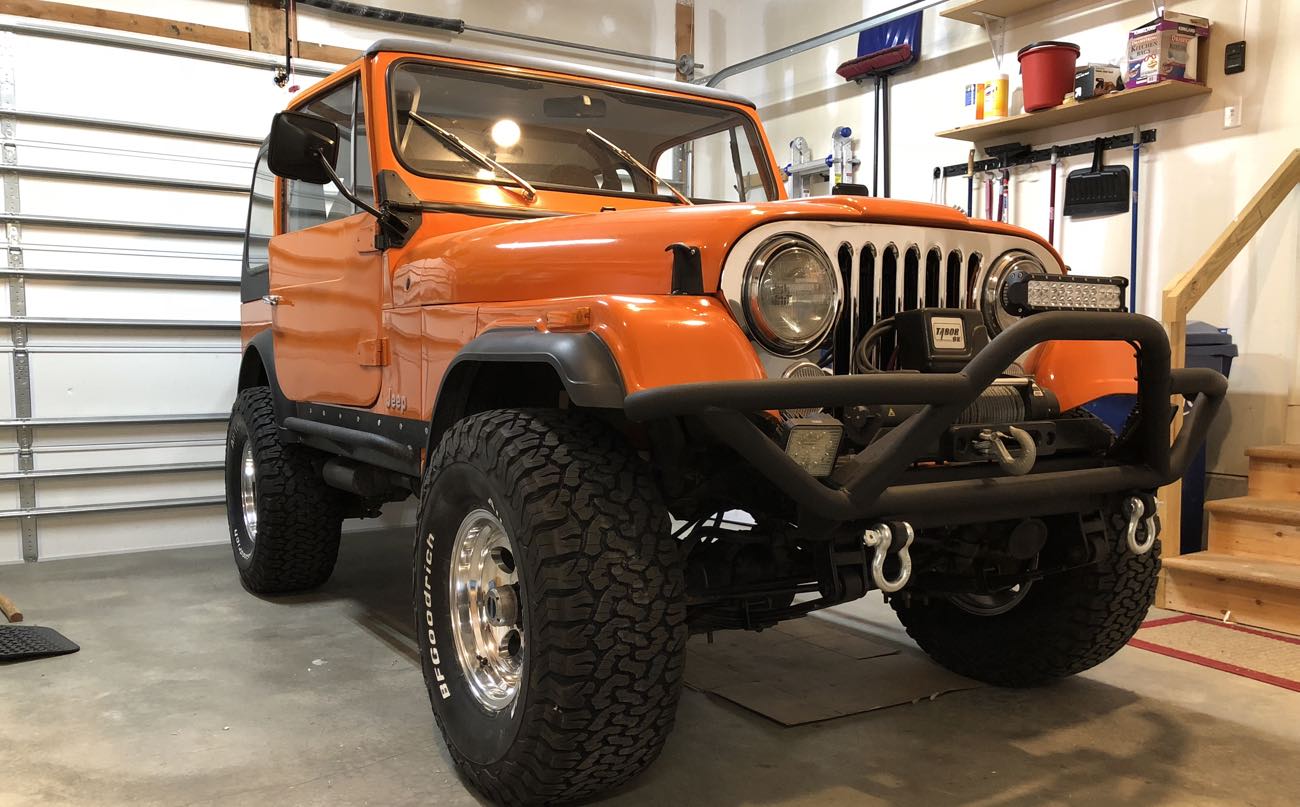
While this should have been one of the most simple updates of all, it still took a few hours and required the use of a grinder. You can see the Instagram slideshow [here](https://www.instagram.com/p/Bgq75HrHDrU/?taken-by=shawnblanc).
#### New Front Brake Lines, Intake Gasket, Fuel Filter, Wiring, and Carb
*Mar 28, 2018*
A few days ago I took the Jeep in for the state safety inspection and a few things failed…
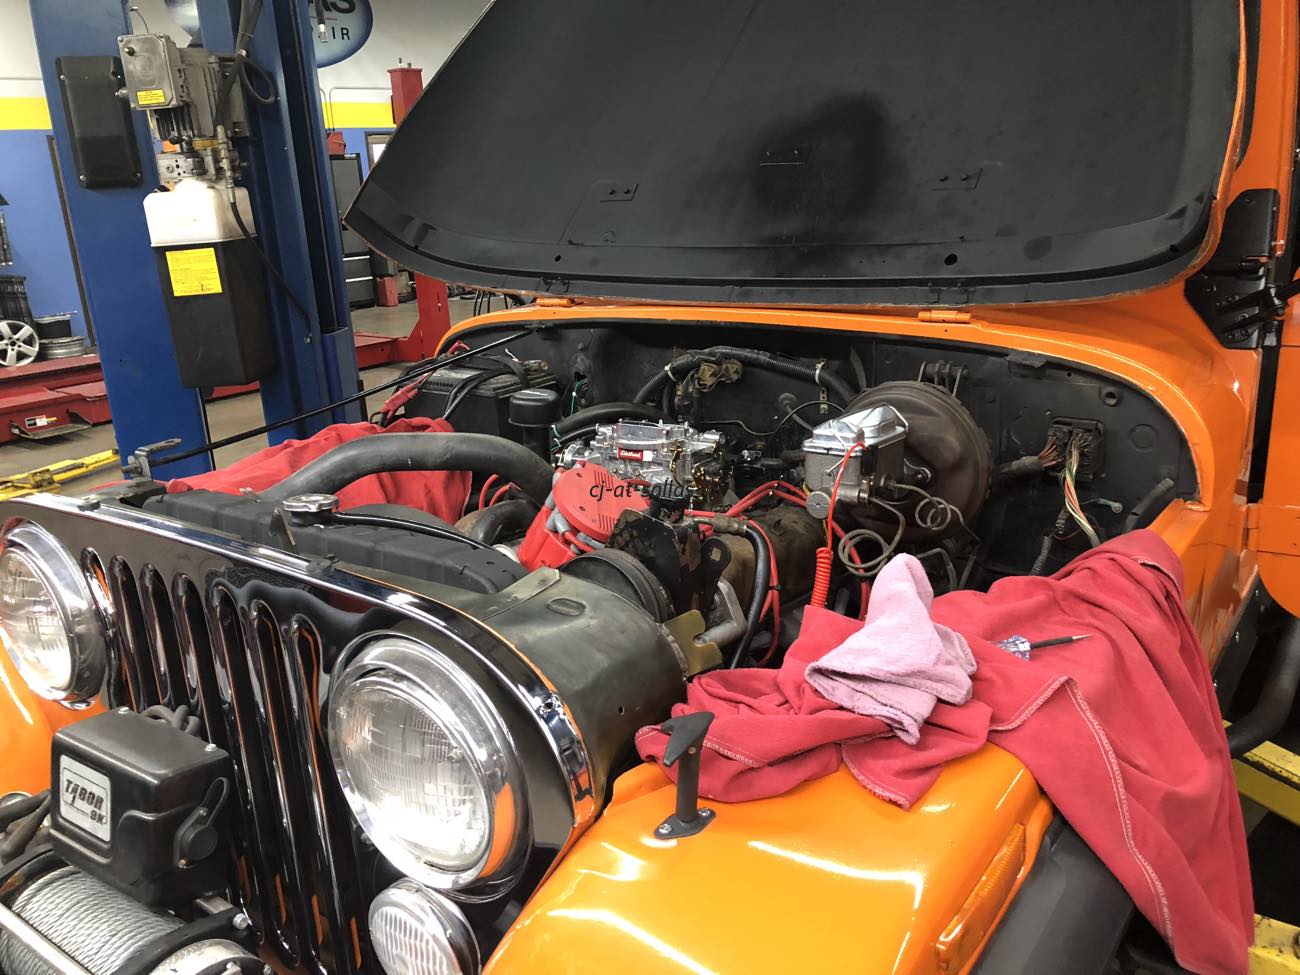
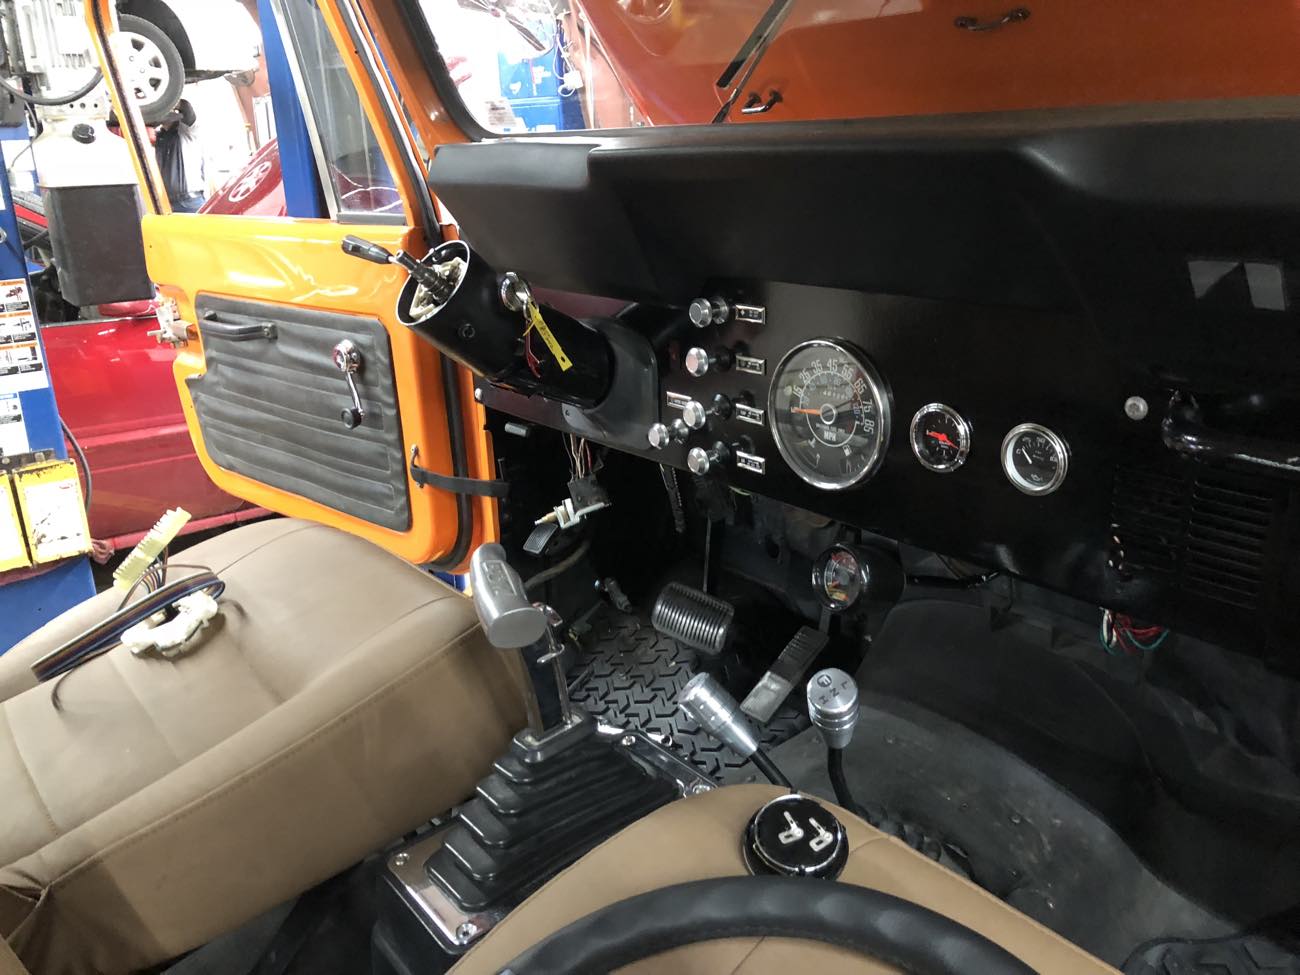
Most notably was a cracked break line at the front passenger side. Yikes! Also a failing fuel pump, a few leaking coolant lines, and a leaking intake gasket. It was a no brainer to replace the intake gasket before any of that coolant began finding its way inside the engine. (That was the deal breaker for my old YJ.)
And, while they had the intake removed, they found some it turns out that 2 of the vacuum hoses on the Holley carb were completely plugged, and one of the floater gaskets had fallen down inside the barrel. Bad news. It as a tossup between rebuilding the carb and just replacing it altogether — I opted for the latter.
The carb tuning that I paid for two weeks ago turned out to be a complete waste of money. Oh well, that’s how it goes with a Jeep.
#### Attempted Installation of a New Shifter
*Mar 29, 2018*
Today the new Lokar shifter arrived. And it’s awesome. Except for one thing…
I took it over to my mechanic so we could get rid of the horrific B&M Ratchet shifter and replace it with this new one. Alas, it’s completely the wrong size.
I had ordered a 16-inch double bend shift lever, but there was no good place to install it in the Jeep. So I’m returning it and have ordered a 10-inch single bend lever instead.
#### Shifter Finally Installed, Etc.
*Apr 16, 2018*
After 3 weeks at the shop, the new shifter is finally installed! It turned out to be a simple, $5 part on the transmission itself. The TF904 has two types of lever attachments: one for use with a column shifter (“3 on the Tree”) and one for use with a floor shifter.
The Jeep must have originally had a column shifter and the previous owner left the wrong lever when converting to a floor shifter. And that’s why things were messed up. But now the new Lokar shifter is installed and works great.
Also, the engine temp sensor is working.
And… with the new carb in place the Jeep is getting around 15 MPG!
#### New Headlights and Parking Lights
*Apr 16, 2018*
Today I installed new headlights and parking lights. The parking light assemblies were the original ones — they were rusting out and the plastic covers were all fogged. The new ones were simple to put in, are much brighter and clearer.
The headlights were also the stock originals. And driving at night it was like having two small little flashlights pointed toward the road. They barely illuminated anything.
I replaced the headlights with an all-new assembly. I put in Hella e code headlights along with higher wattage halogen bulbs. The bulbs connection required a ceramic adapter because the lights can get hot.
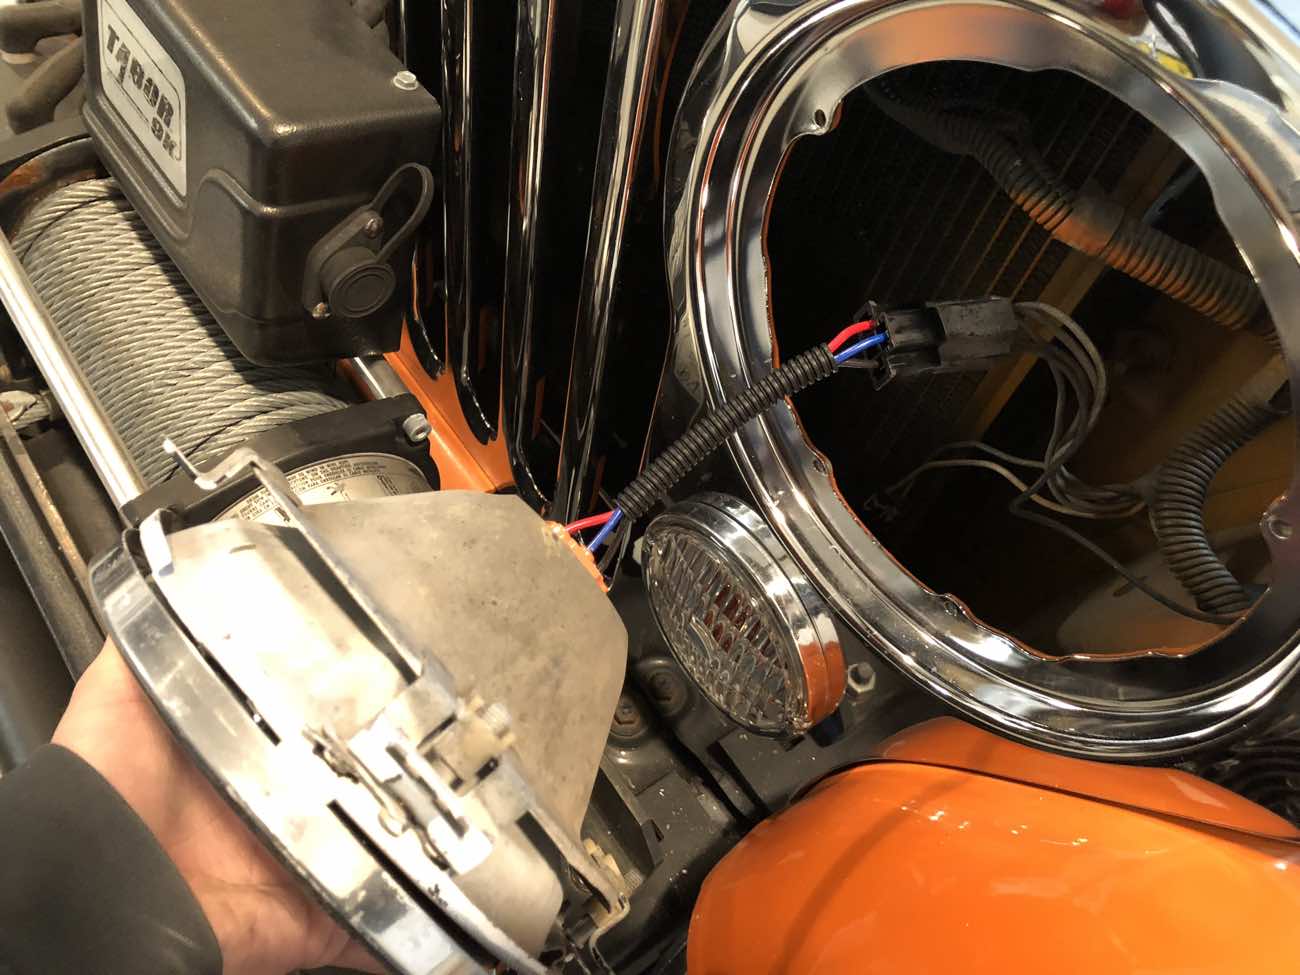
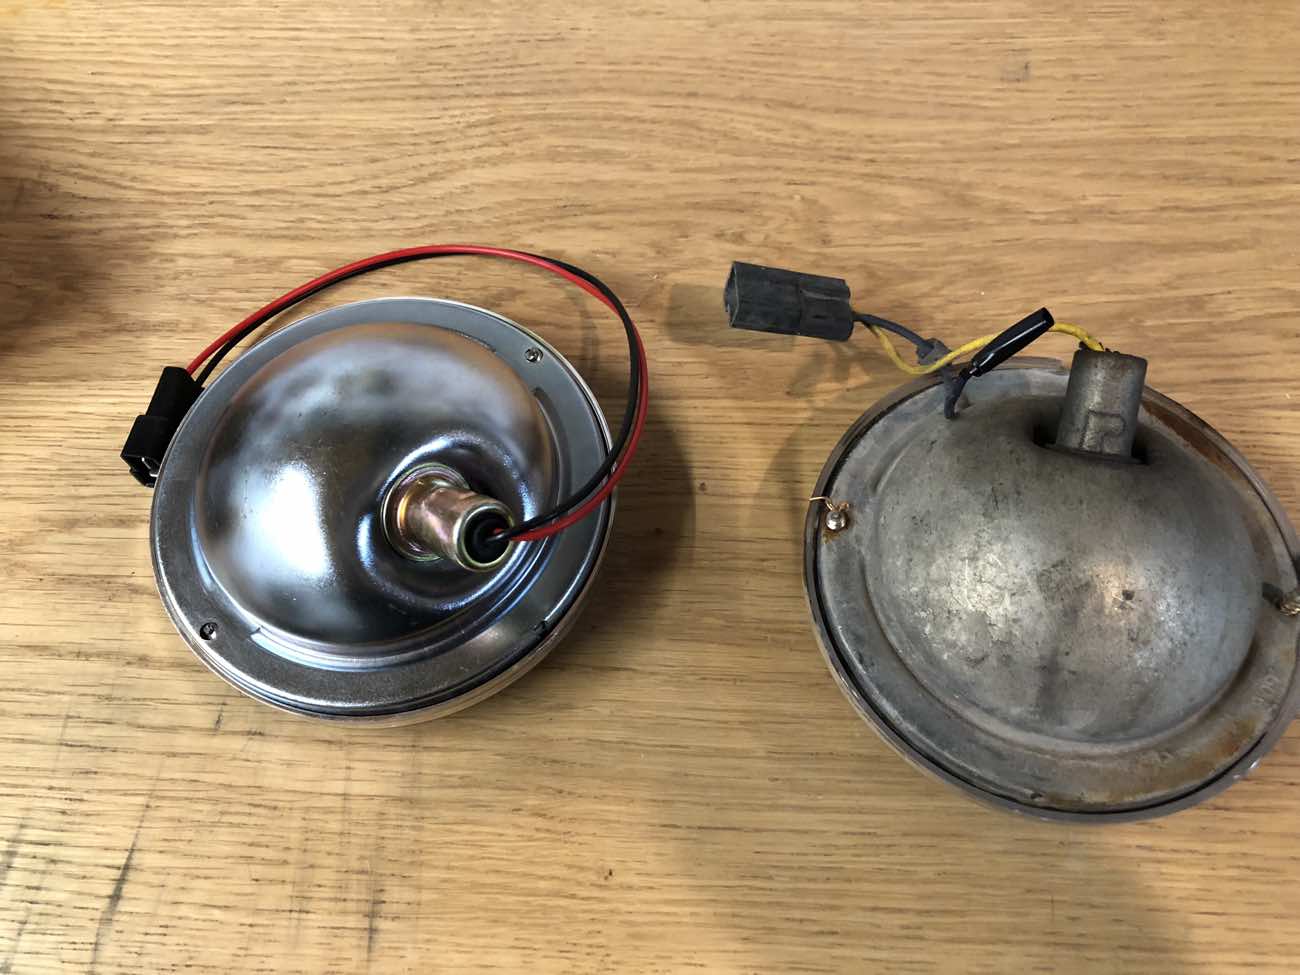
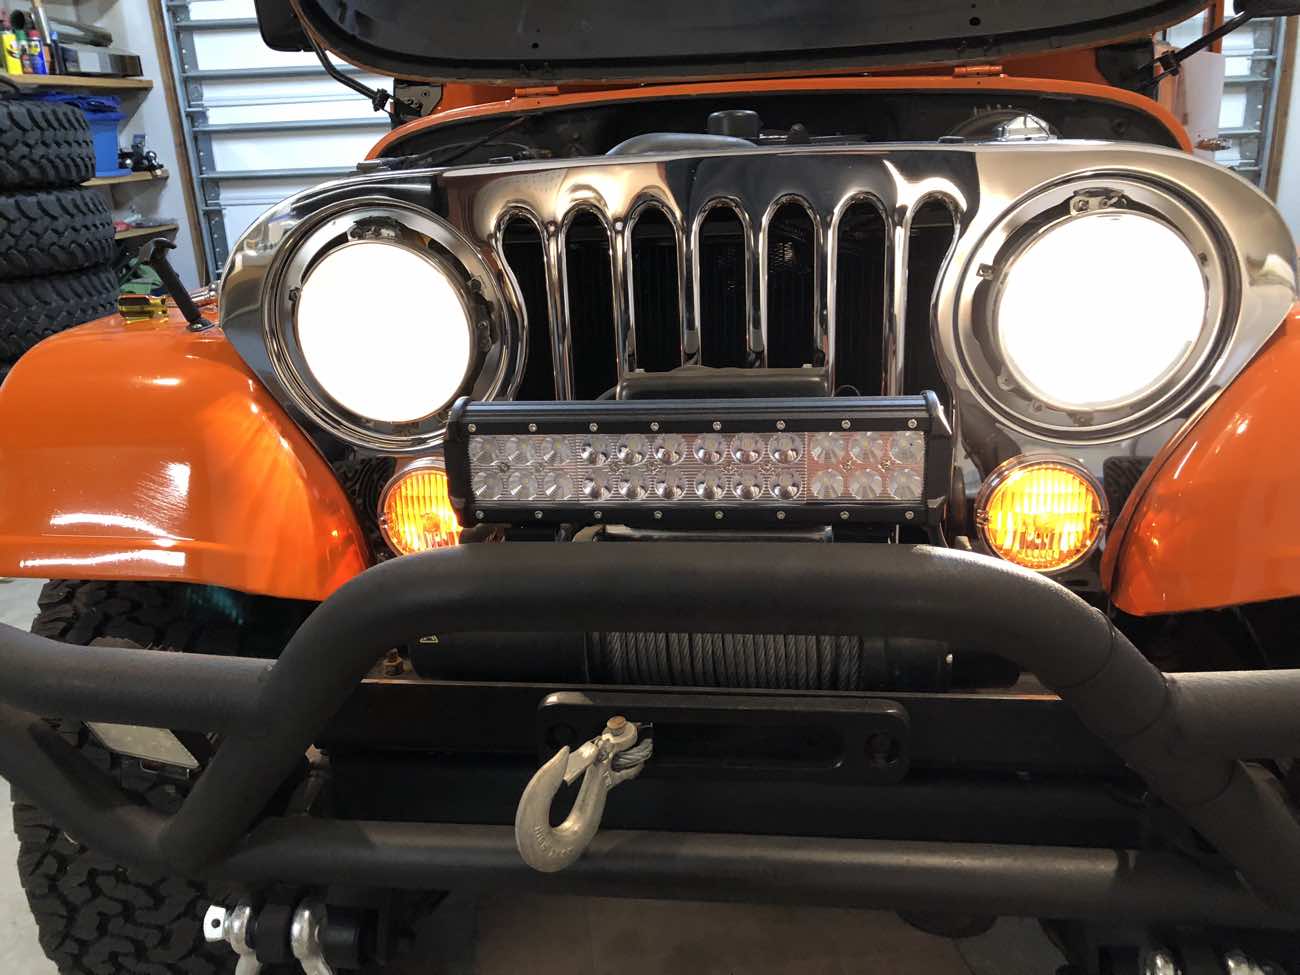
The difference is, no pun intended, like night and day. The new housings and bulbs give a full spread of light on the road. Much safer.
#### New Tailgate Cable
*Apr 17, 2018*
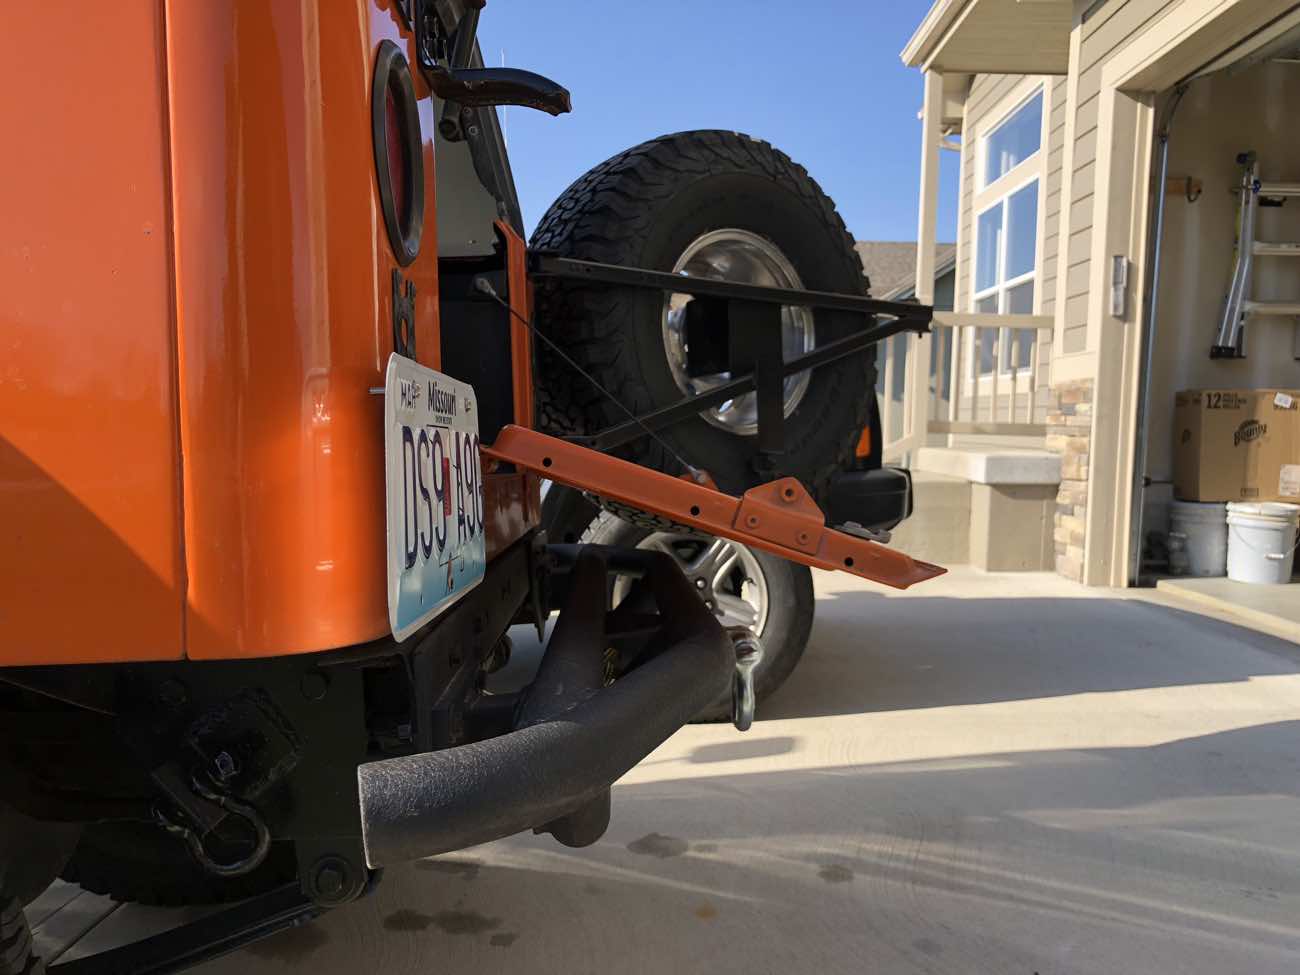
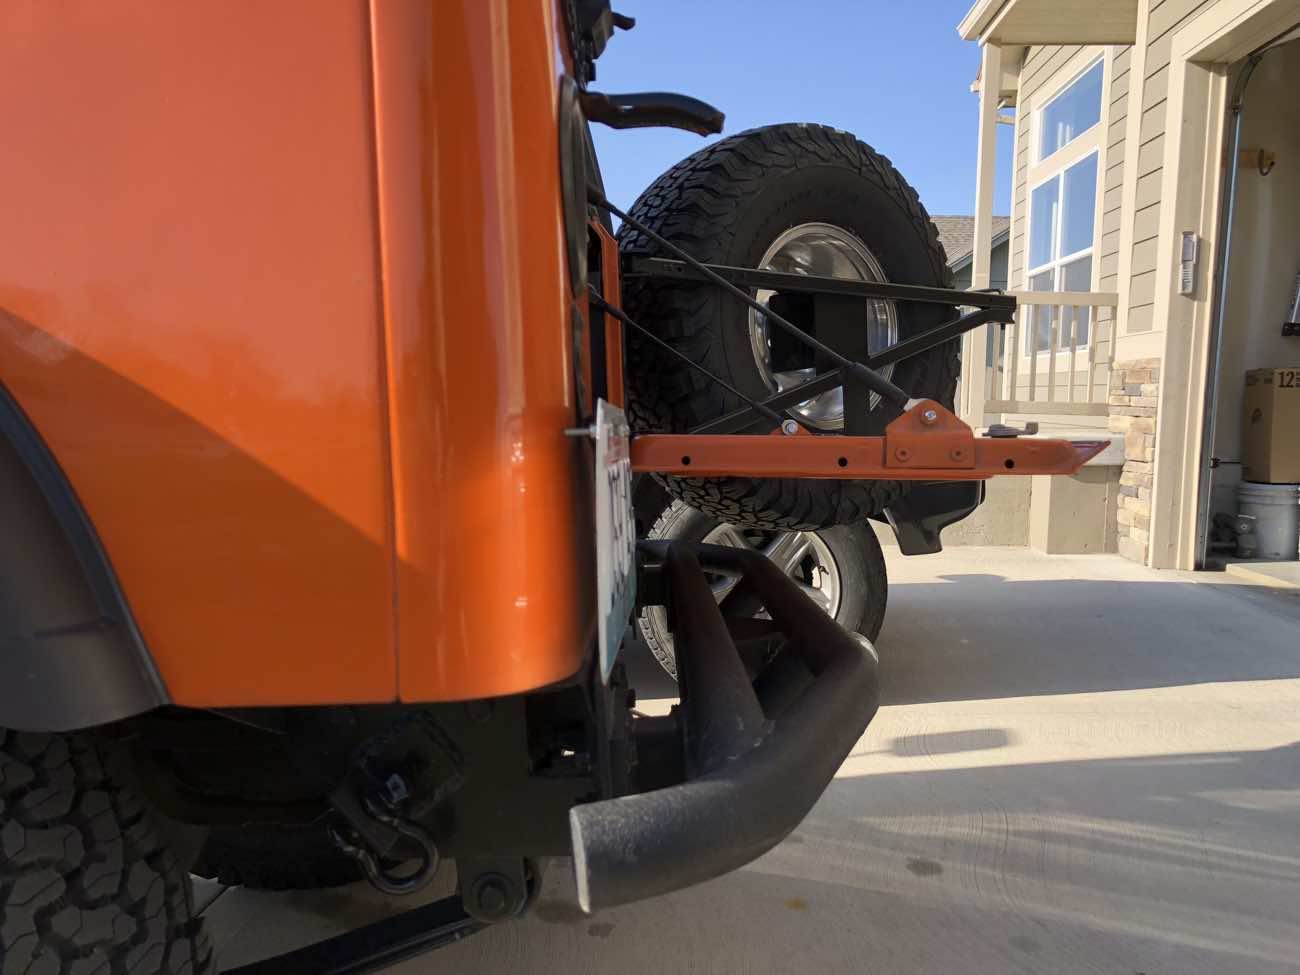
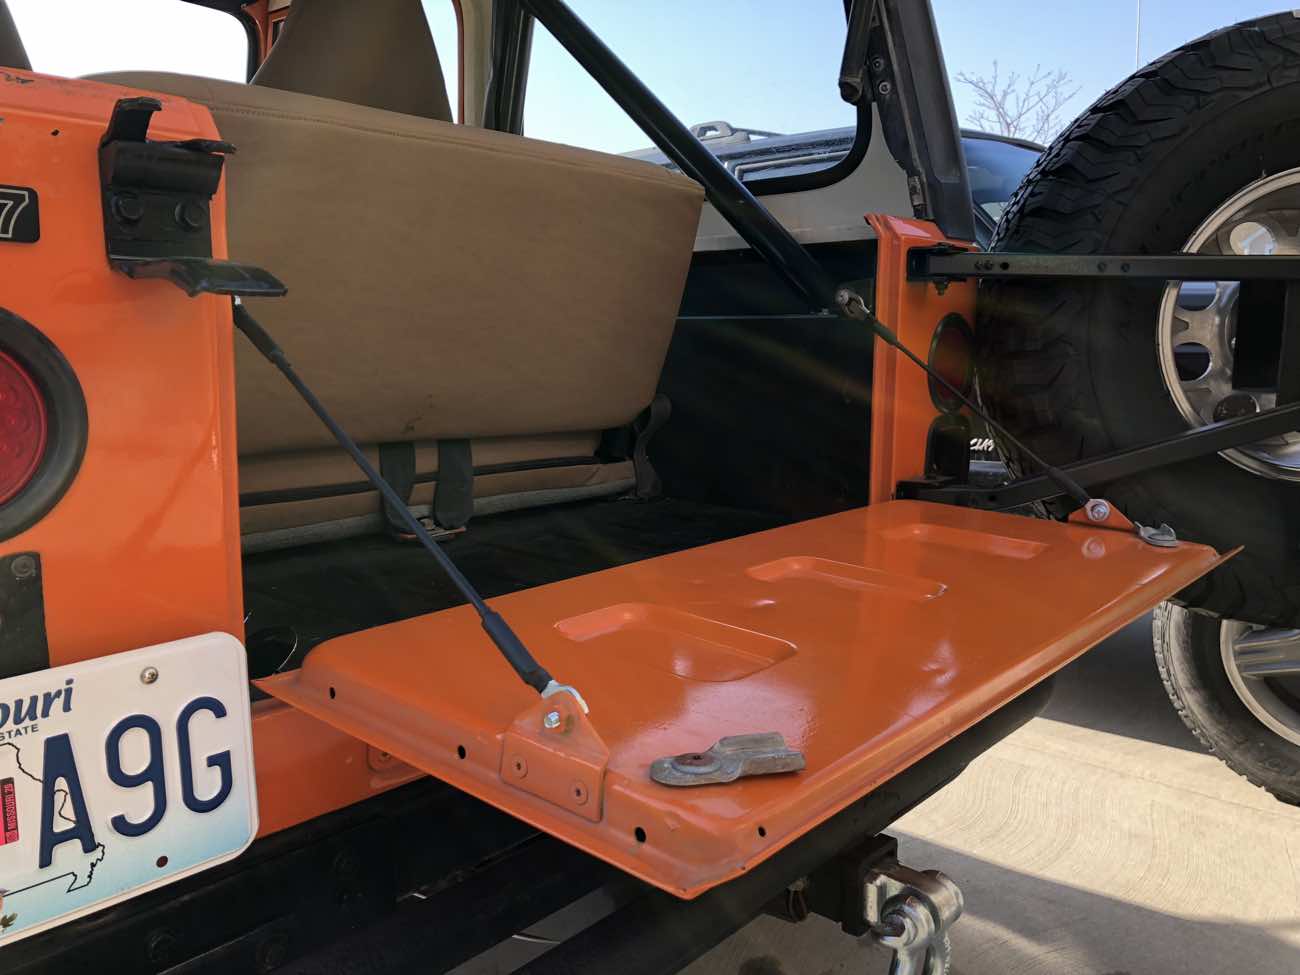
I replaced the tailgate cables. The left one was missing, and, oddly, CJ-7 tailgate cables are too long. Which means that when the tailgate is open it hangs down at an angle. So odd.
I found some 16-inch cables for a Ford Ranger and they worked perfectly.
#### 1-inch Body Lift
*May 02, 2018*
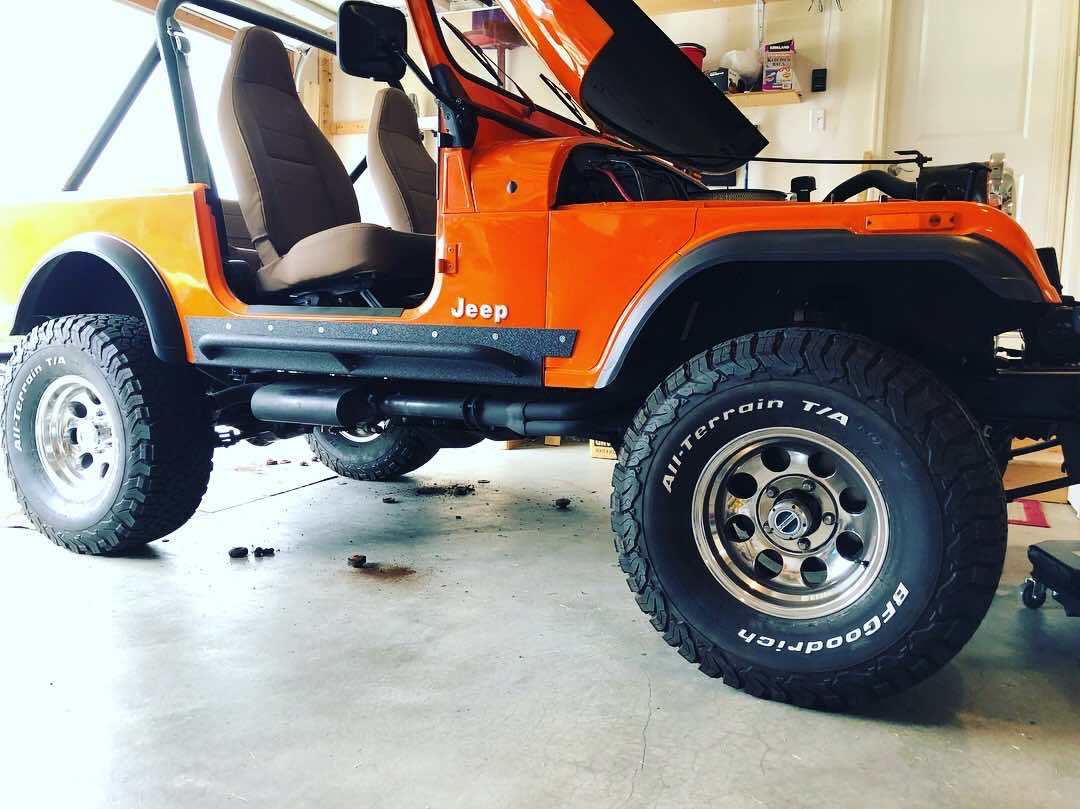
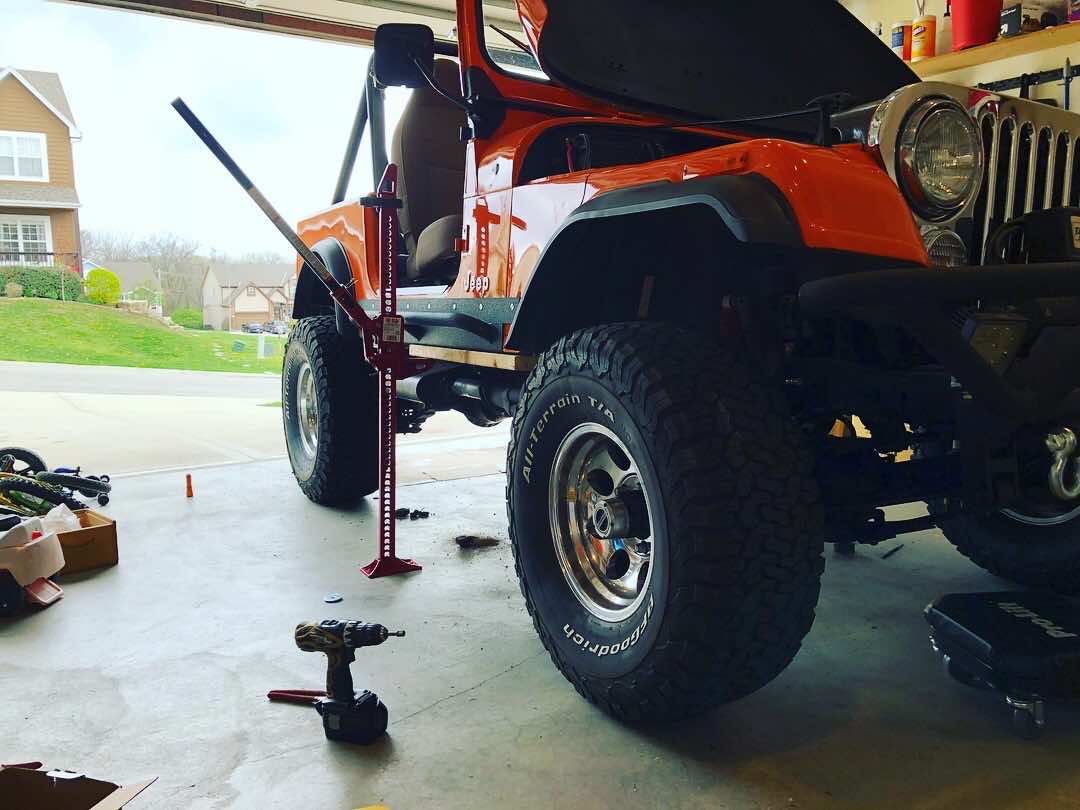
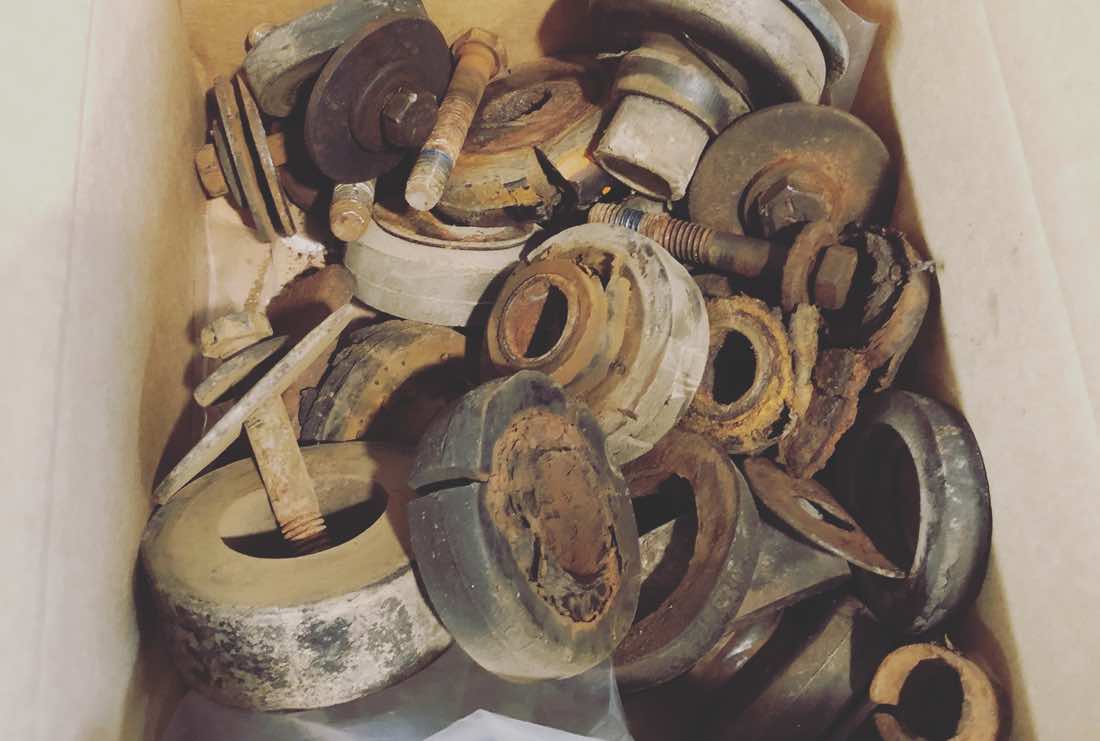
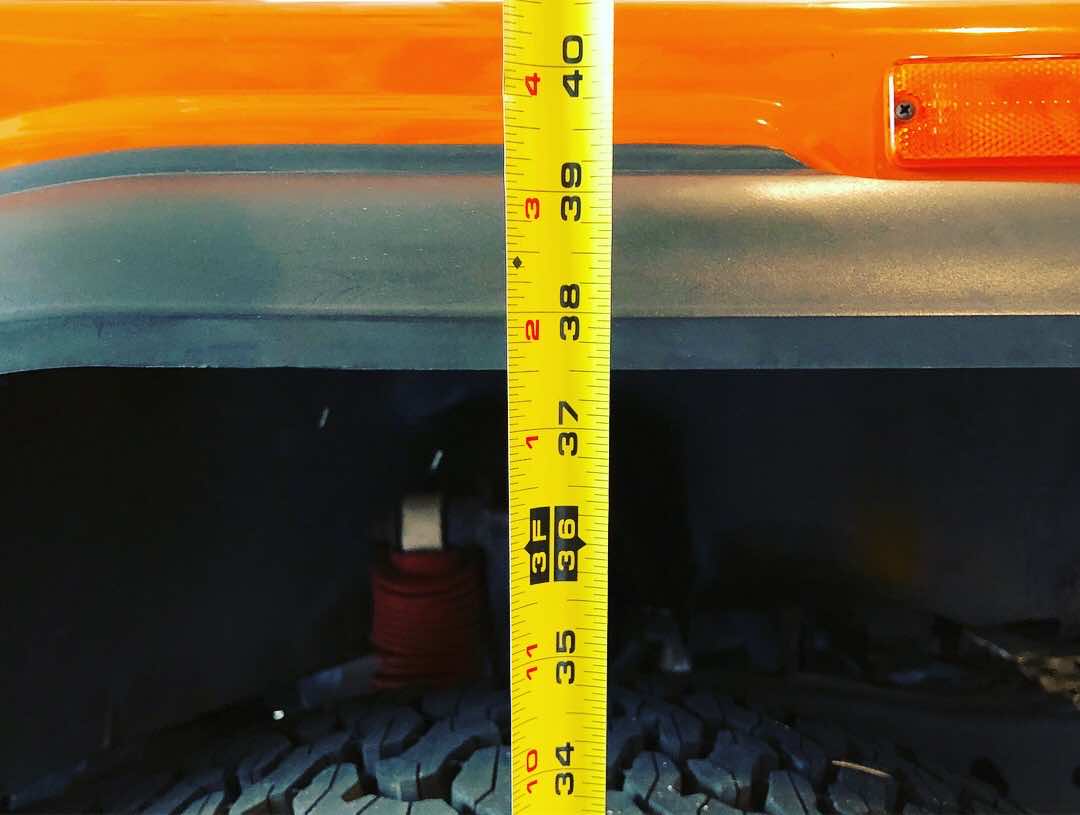
I took two evenings to install the 1-inch Daystar body lift. This ended up taking almost 8 hours. In part due to a lot of rust in every mount. Also, I took my time to make sure I wasn’t forgetting anything.
One bolt was snapped in half years ago and has rusted down to a nub. Another nut broke free from its bracket, so I had to pry it out. Then, at first I thought the new bolts were the wrong size — I didn’t know if my CJ’s tub was pre-1980 or if there was a mixup in the lift kit. So I went to the hardware store to buy new bolts that would fit the stock nuts, only to discover that there were two sizes of bolts in the lift kit and I was using the wrong size. Oops!
In the end, I gained 1.5” of total body lift with the 1” kit. That shows you just how bad of shape the stock bushings were in! There’s now plenty of clearance for the tires under the fenders, and it has a bit more aggressive look.
Now I have to decide what to do with the Flowmaster exhaust… It looks awkward the way it’s exposed with the body lifted up an additional 1.5 inches. Not sure if I’ll work to tuck the mufflers up so they look the way they did before, or get rid of the Flowmasters all together and have new pipes run to the back.
Fun times! It’s getting there, and building it is more than half the fun.
#### Steering: New Variable Ratio Gear Box and HD Steering Shaft
**May 7, 2018**
Today, my dad and I put in a new steering gear box. This took some time, but was a great project and I’m glad we did it (though the change in steering “tightness” is not as dramatic as I was expecting).
I went with a variable ratio gear box from PSC and the
Once everything was installed, we had to hoist up the front tires and [bleed the new steering system](https://www.instagram.com/p/BifwhHGlTR7/). It only took about 50 cycles of going lock to lock to get all the air out.
Once we had it bled, went for a test drive and my alignment is all wacky… The steering wheel is a full 1/4 turn to the right: the top points at 3 o’clock when I’m driving straight. But Other than that, the new box and shaft are honestly not as dramatic of a steering improvement as I was expecting. It is definitely tighter, but doesn’t feel like the massive improvement that I’ve read about — in the end, it still drives like an old CJ.
#### Front Sway Bar Disconnects
**June 25, 2018**
This evening I [installed new Sway Bar Disconnects](https://www.instagram.com/p/BkdlsbPFguH/).
A few notes on the install…
1. You you definitely need a pickle fork for this job. Makes it way easier to get the upper bushings out.
2. I went with the simple disconnects from Warrior. There are some really nice ones from JKS, but they either (a) require welding or (b) the lower mount “bar” hangs down 6 inches when disconnected. Not good. Considering the CJ only sees trails a few times per year, I went with the most simple solution.
#### Re-Geared and Rebuilt Axles with Locker
**May 2018**
After much deliberation on differential ratios, the Jeep finally got a new rear end:
* One-Piece rear axles
* Limited slip rear locker
* 3.73 gears (in front and rear, of course)
When rebuilt, the AMC 20 Wide Track is arguably as strong as a Dana 44. So long as I’m re-gearing it, I might as well rebuild the rest of it too… (haha. That’s what they all say, right?)
I was originally wanting to get an ARB locker in the rear, but the cost was just too much for me to justify considering how infrequently (and how non-aggressively) I go off-roading. So I went with an [Auburn Pro limited slip](https://www.4wheelparts.com/buyers-guides/axles-ring-pinion/differentials.aspx) instead.
As for the gear ratio, I was undecided for a long time. Here’s some basic math regarding “best practices” when re-gearing your differentials…
The original diff gear ratio was 2.73 and the stock tires were 235/75/15 (or 29 inches tall). With my current tire size of 33, the “back to stock” diff gear ratio should be 3.10:1 (because new tire height divided by old tire height multiplied by gear ratio equals ideal new diff gear ratio). So: `33/29 * 2.73 = 3.10:1`
Then you bump it up to the nearest common ratio — in this case, 3.54:1 — and that was the best starting point for new gear ratios in my Jeep. But… since it rarely sees highway, it would be advantageous to get the lowest gears possible without completely sacrificing it’s daily drivability.
Thus I wanted to re-gear the diffs to at least 3.73 if not 4.10.
I was torn between the two and ended up going with 3.73 gears. I can certainly feel the difference compared to the 2.73 stock ratio, but after driving the 3.73s I feel as if I would have been better off going with 4.10 gears. Oh well!
#### Colorado
**July 2018**
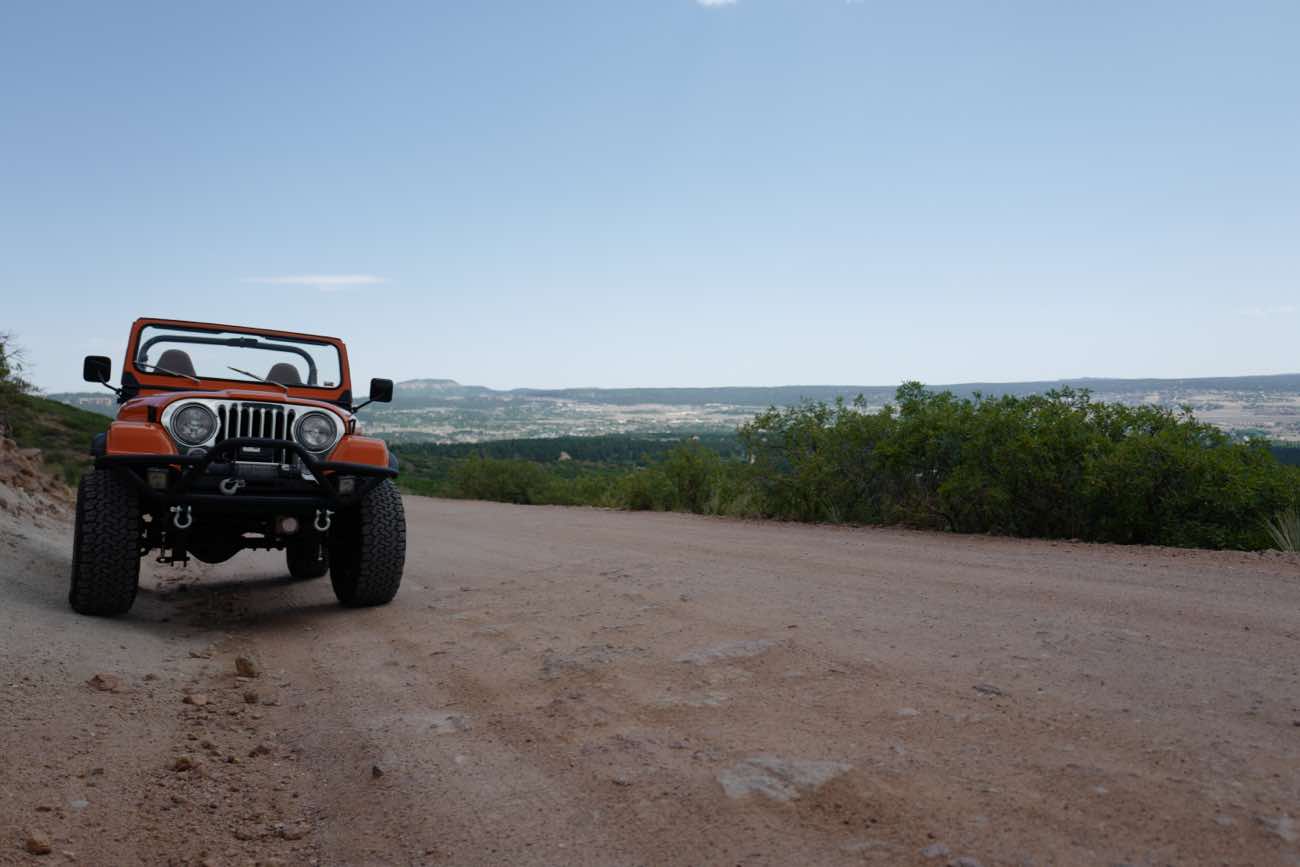
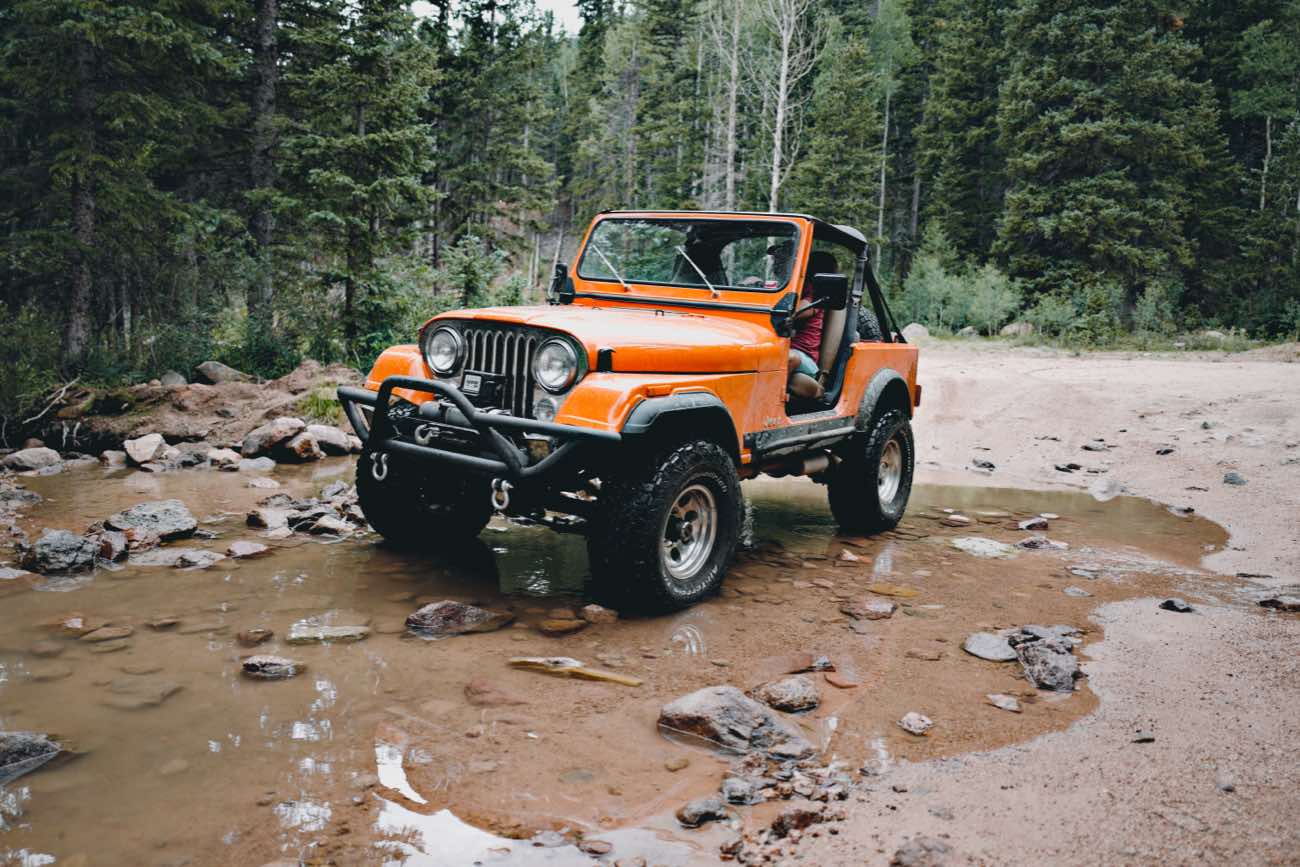
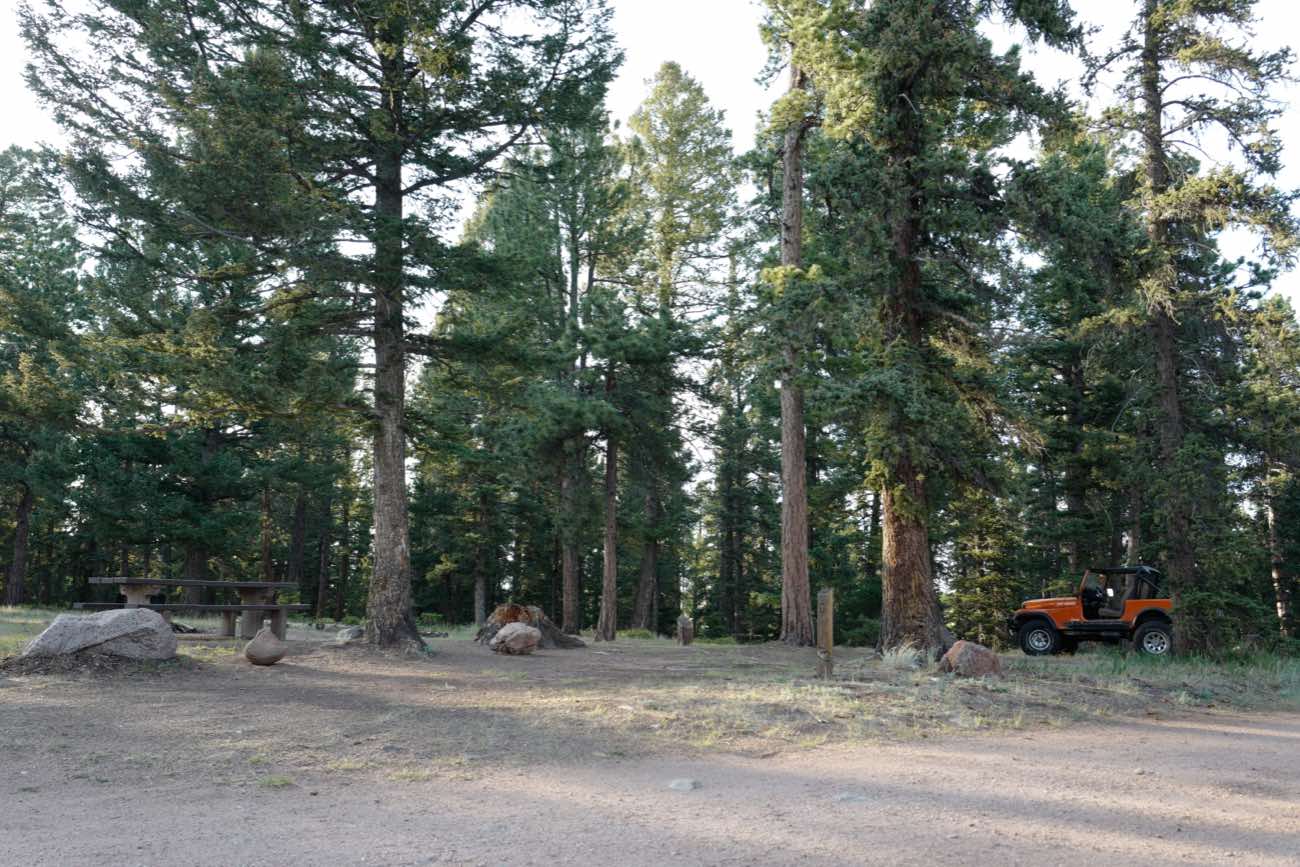
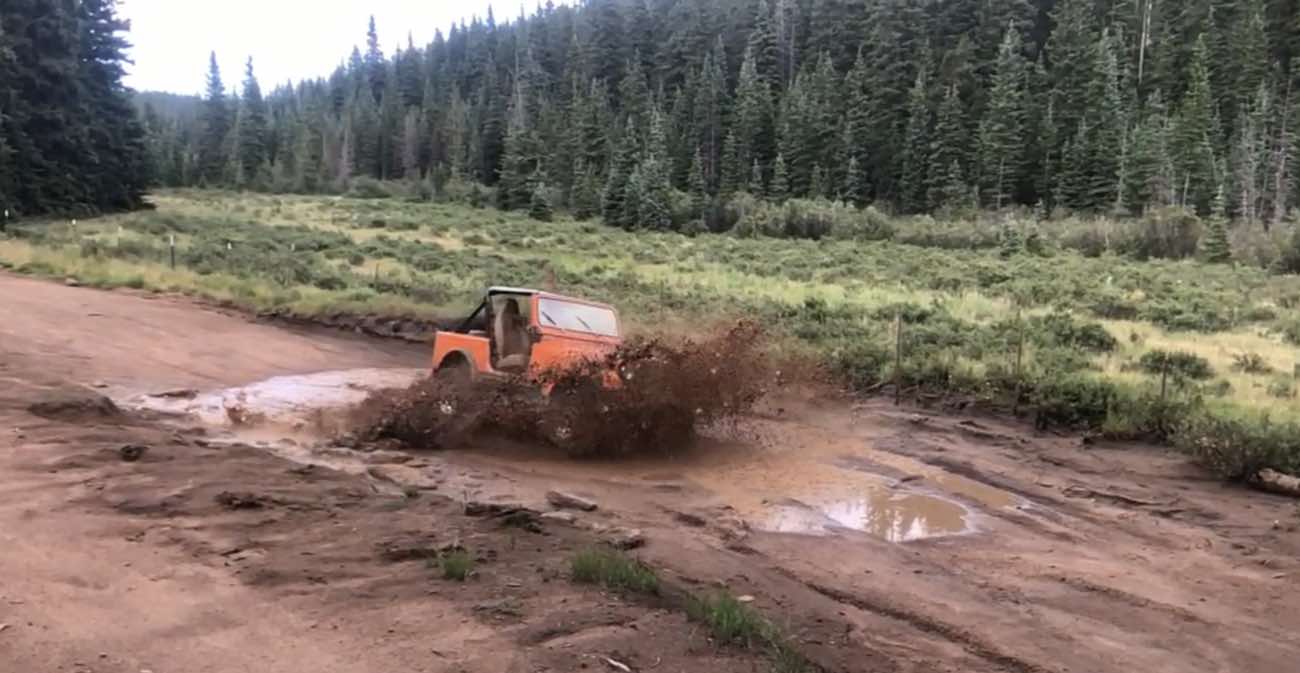
Took the Jeep to Colorado for the month of July. It was fantastic.
#### Up Next…
As of March 2019, here’s what’s on the docket once the weather warms up. In no particular order…
* Do a tie-rod flip with a flat pitman arm
* Re-paint mufflers black to match the underbody
* Re-paint the hard top
* Re-paint the axles and leaf springs
* Install a 190° thermostat (the engine runs cold, and I think it has a 165° thermostat in there now)
* Install a steering stabilizer (the current one has started leaking)
* Flip the tailgate hinges (long story)
* Continue looking for a YJ-style family roll cage
* * *
I update this page from time to time. You can follow me on Instagram for more photos and stories about the CJ-7.