Deleting Watch Faces
As you know, force pressing on your Watch face from the watch face screen gives you the option to change and customize your Watch’s watch face.
Stephen Hackett has written a rundown of each face, and Jason Snell has slowly been reviewing them one by one.
But I have a few additional tips I haven’t seen around:
First off, as you scroll through the list of faces, you can remove any face from this list that you don’t want in there.
Swipe up on the face and you’ll get the option to delete it. Note that you’re not actually deleting that face from your Watch, you’re simply removing it from the list of quick-access watch faces.
At the end of the watch face list is the option to add a new face. From here you can add a new instance of any one of the watch face types. So, if you deleted your previous instance of the Mickey Mouse face, you can bring him back.
Adding and Saving Watch Faces
Now, what’s especially great about the ability to add new faces isn’t to bring back ones you’ve deleted, but because you can have more than one customized version of a face.
In short, your list of watch faces can be a customized collection of various face designs and functionality to suit your needs. This is one of the main advantages of a digital smart watch.
As seen in the photo at the top of this article, my most-frequently-used Watch face is Utility. I have the dial set to show the least amount of detail as possible with day and date at 3 o’clock. The top-right corner tells me the outside temperature, and the top left corner shows my activity rings.
However, last weekend I was at a wedding and wanted something a bit more simple and classy to go with my suit. So I created a customized version of the Simple watch face with no dial at all, and no complications other than the weather in the top right corner. Furthermore, the second hand color was set to match my pocket square (I mean, why not?).
Another favorite watch face is Modular. Over a regular weekend, when chances are I’m outside, I often use Modular with all sorts of complications enabled: weather, timer, when sunset is, etc. These are all the things that are especially relevant and helpful to me if I’m doing yard work.
While Modular certainly lends itself to being filled up with data, it also can make for an extremely simple face design — just turn off all or most of the complications.
Lastly, I have an alternate version of Utility that is just like the one mentioned above but with the Timer complication enabled in the bottom center. This is handy for when I’m cooking on the backyard grill and need to set (and see) repeating timers for checking the chicken, etc.
The watch face is the main “Home screen” of Apple Watch. And therefore the design and complications in use play a huge role in how you use and interact with your Apple Watch. Having a few different faces saved for quick-access is pretty helpful.
Read the Manual
In the box that your Apple Watch came in, there’s a small user’s guide. It outlines just a few of the basic interactions and functions of your Watch. If, like me, you ignored it when your Watch first came, take a moment to read over it. You’ll probably learn something new — I did.
(This tip, along with the next one, I picked up from John Gruber during his episode of The Talk Show with David Sparks.)
Set Text to Bold
This one is a non-obvious tip, and some may not like it, but you should at least give it a shot.
Go to the settings app within your Watch, tap on “Brightness and Text Size” and set Bold Text to be on. It will require your Watch to reboot (takes just a minute).
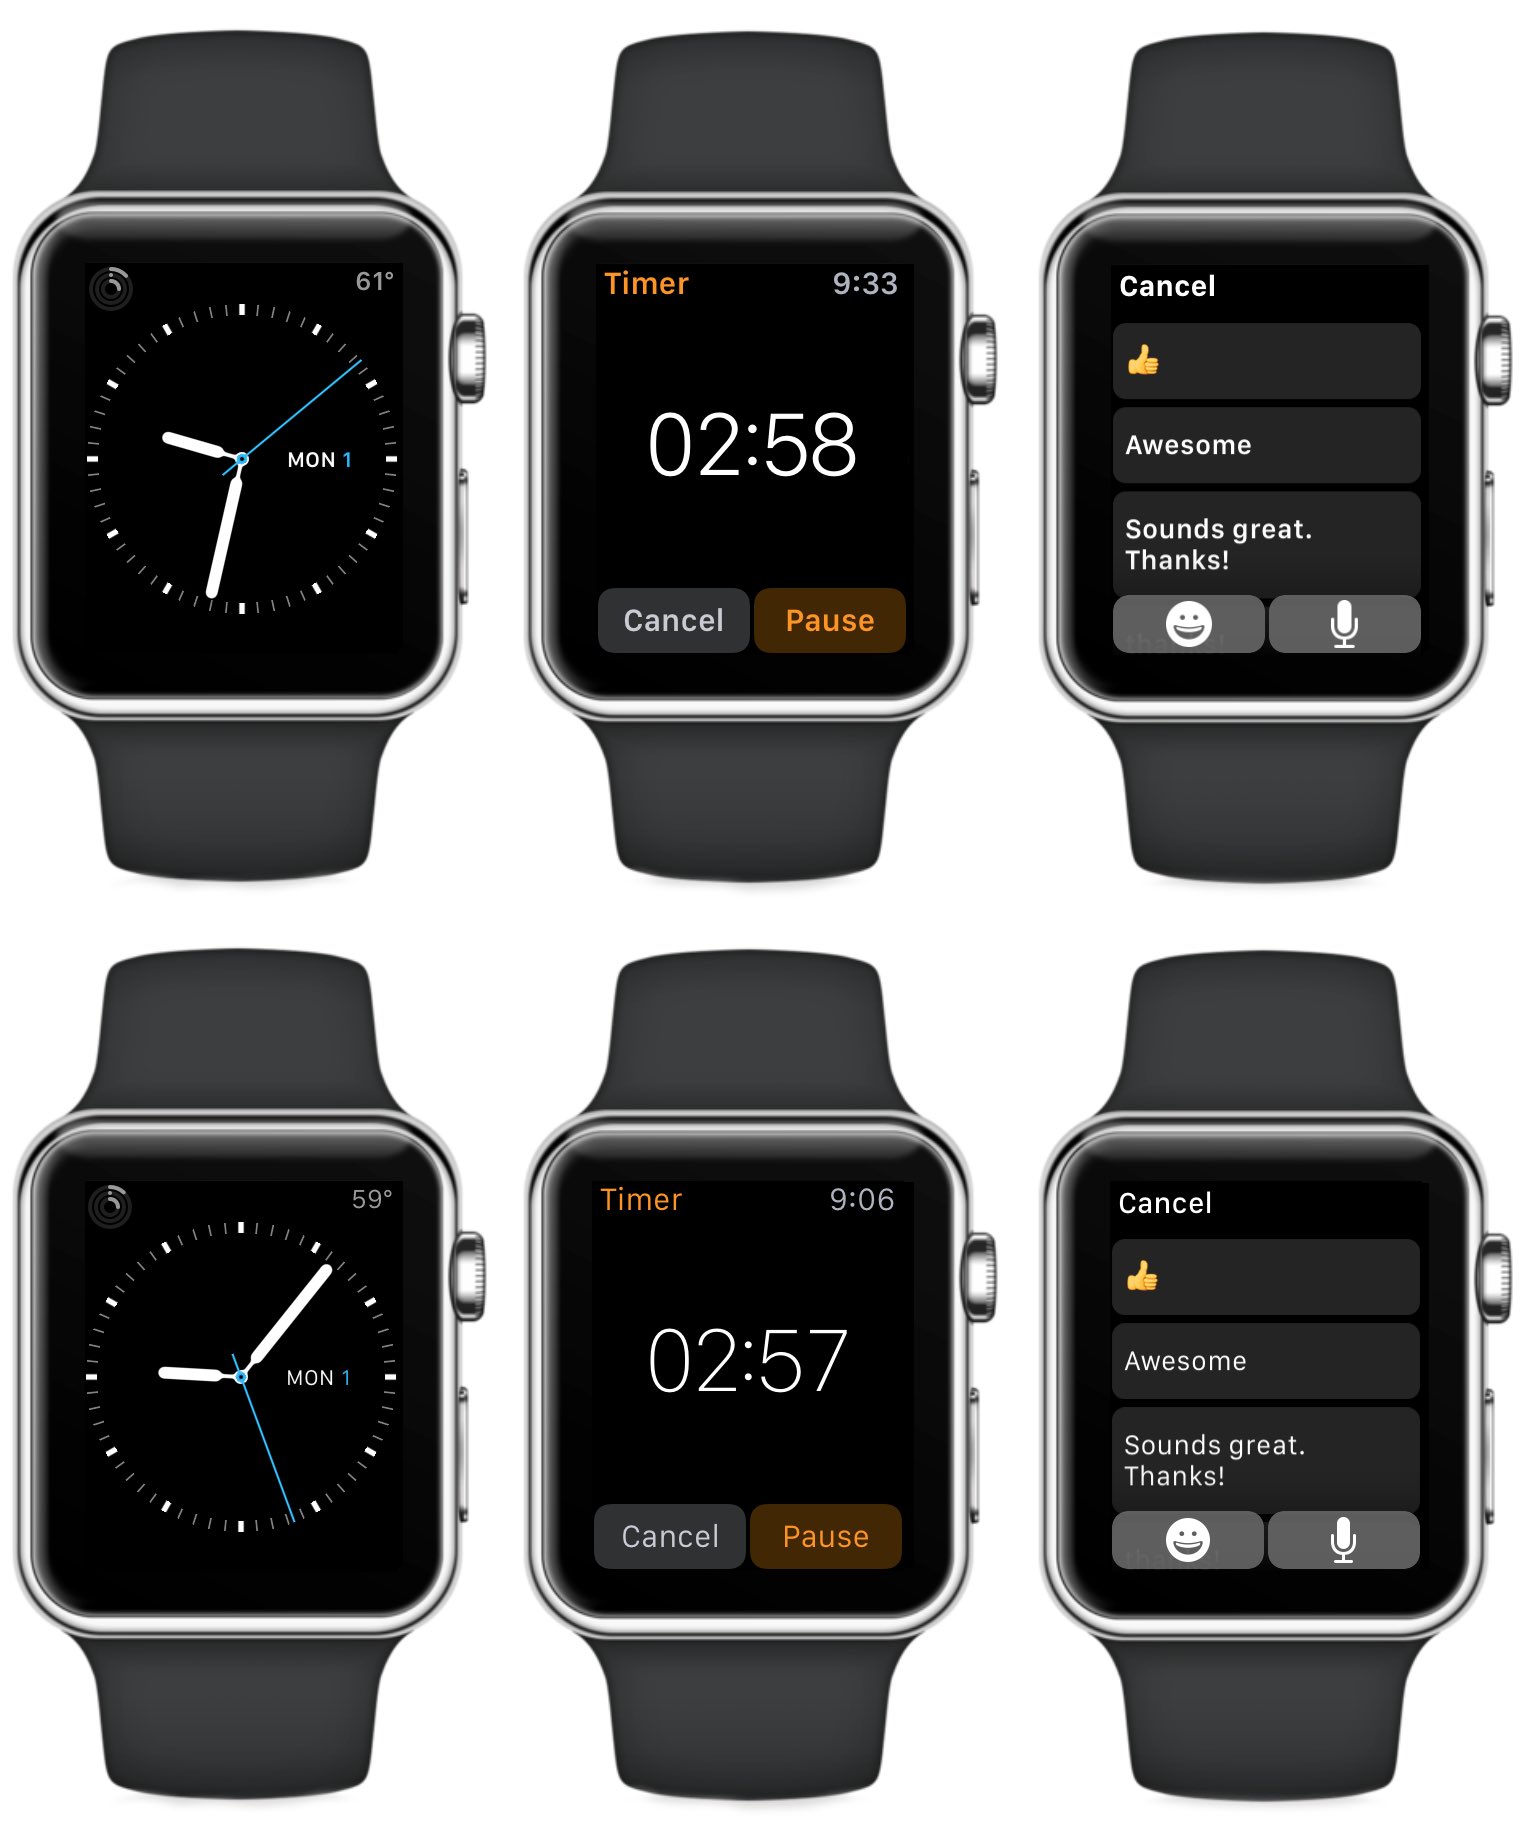
Here are a few examples of how bold (top) and non-bold (bottom) look:

As you can see in the screenshots, it’s not truly bold — it’s more like semi-bold, or medium. It makes certain text elements on your Watch ever so slightly readable, and on such a tiny computer screen that’s something that can be a nice change.
Try Force Pressing on Every Screen
One of the slightly non-obvious interaction methods with your Watch is to force press on various screens.
Force pressing on the watch face is how you’re able to switch and customize different face designs.
Force pressing in an iMessage thread with someone gives you the options to reply to that person, see their contact details, or send your location to them.
Force pressing on an activity ring screen (Stand, Move, Exercise) gives you the option to change your move goal.
And many 3rd-party apps implement force pressing as well. You never know where it will present something useful.
Disable the Option Prompt for Sending Audio or Dictation
If you’ve ever tried dictating a text message to your Watch, you probably know it’s a bit of a hassle. Cool, yes. Super seamless, not always.
For me, one thing that was an extra step was that after dictating the message to my Watch and waiting for Siri to roundtrip with my iPhone in order to translate, I then had to tap “Done” and then had to choose if I wanted to send the audio recording of my dictation or the actual text.
I always sent the text, never the audio. If you’re in the same boat, there’s a setting that will save you a step. Simply do this:
Launch the Apple Watch app on your phone, scroll down to “Messages” and then tap on “Audio Messages”. From there you have the option to always do just Dictation or just the audio recording of your voice.
Customize Your Default Text Message Replies
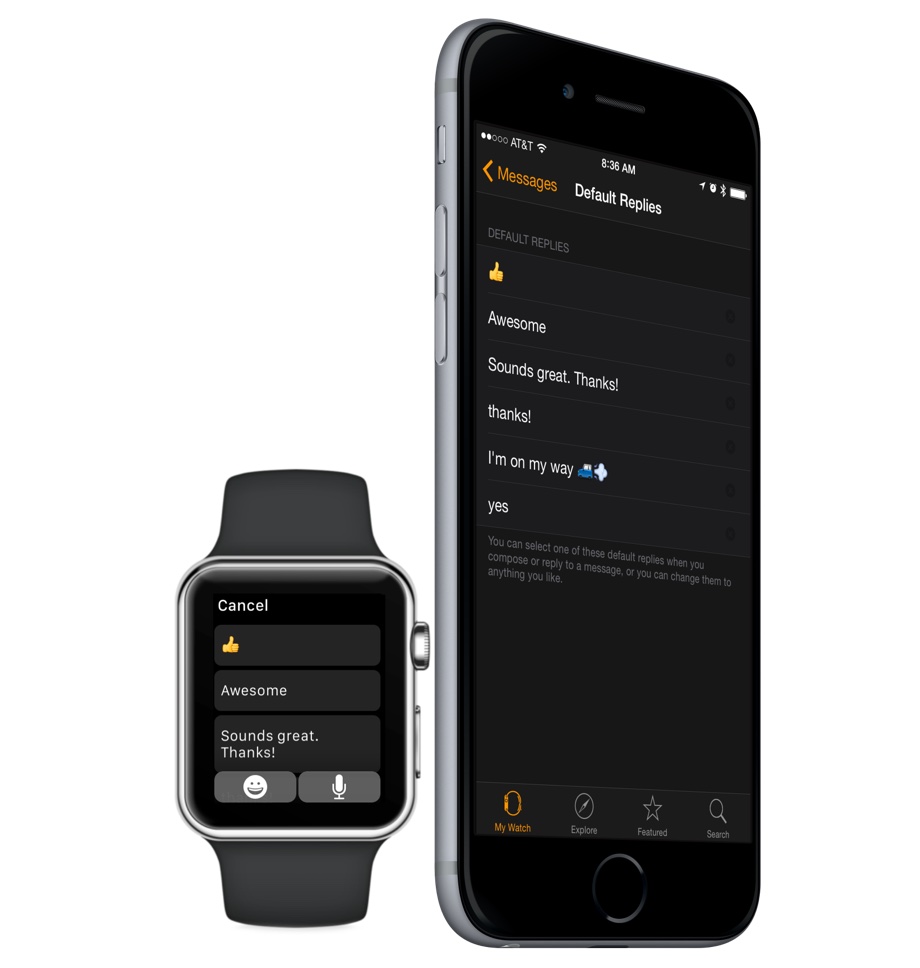
From the same settings screen as above (Apple Watch app on your iPhone → Messages), you can also set your own default replies.

There are six slots available for you to customize. And these default replies are what you see when you go to compose a new text message to someone from your Watch.
You also see these replies at the end of the list when you are replying to an incoming message. Apple Watch does a pretty good job at thinking for you about what you may want to say in certain situations, and so those canned responses are at the top. If you don’t like any of them, you can keep scrolling to get to your six default replies.
Locking the Screen
Did you know that if you put your hand over the entire Watch face it will lock the screen? Yes, you could lower your wrist. But if you need some closure and want to see that the screen has locked, simply cover the whole face.
Reverse Crown
Though I personally prefer the standard crown placement, if you’d prefer to have the crown on the left side instead of the right, there’s a setting for that.
Craig Hockenberry calls it the Reverse Crown and he highly recommends it.
Go to the settings app on your Watch → General → Orientation → and then tap “Left” for Crown placement.
This is also where you can tell your Apple Watch that you are left handed.
Siri Tips
Over on iMore, Rene Ritchie has, naturally, put together a comprehensive rundown of what Siri can do on your Apple Watch. And it’s quite a bit, actually: set reminders, alarms, and timers; send messages; launch apps; show the weather or time for anywhere.
The things I most often use Siri for are setting timers and sending messages. Because Siri on your Watch has to go through your iPhone in order to parse what it is you’re saying and fetch results, it’s not always the fastest option.
I’ve tried setting location-based reminders — “When I get home, remind me to upload the files for Josh” — but they rarely work.
As you probably know, you can bring Siri up in one of two ways: either pressing and holding on the Digital Crown, or else raising your wrist and saying “Hey Siri…”
And so, my biggest tip for how to use Siri is this: when you bring up Siri by talking — “Hey Siri…” — keep on talking. Especially if you have a multi-layered command. Such as sending a message to someone.
So, for example, if you’re sending a message, say the whole command and the text message all at once: “Hey Siri, send a message to my wife I’m on my way.” Saying it all at once will bring up Siri, translate your message, and then put you into the Messages app with the text ready to send. From there you can say “Hey Siri, Send.” (Thanks, Jason!)
For the situations where you need hands free but can’t get Siri to work, fortunately Apple Watch recognizes touch input from your nose.


